Adding serial debugging
 Learning the way existing code works is much easier when you can have insight in the code as it runs. While we can’t really look inside a running microcontroller the way we can with programs on a computer, we can use the serial port to send us information on the running code (values of variables, if statement conditions, signal specific points in the code etc). To add serial output to the existing Hasselt code, we’ll need to add a serial connection and add some code to the existing Hasselt firmware. We’ll start by looking at the code.
Software changes
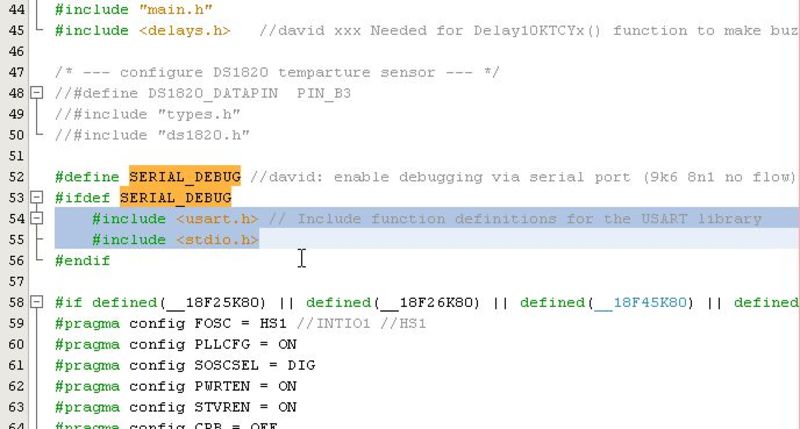
Define SERIAL_DEBUG
We’ll be using a #define statement to switch on and off all our serial debugging statements. This way, if we uncomment the #define SERIAL_DEBUG line in our code, all our serial debug code in the project won’t be included in the compile, and we can use that code for production boards.
Add the following code between the header file includes and the microcontroller register configuration statements:
#define SERIAL_DEBUG //david: enable debugging via serial port (9k6 8n1 no flow)
#ifdef SERIAL_DEBUG
	#include <usart.h> // Include function definitions for the USART library
	#include <stdio.h> // Needed for sprintf()
#endif
Initialize the serial port
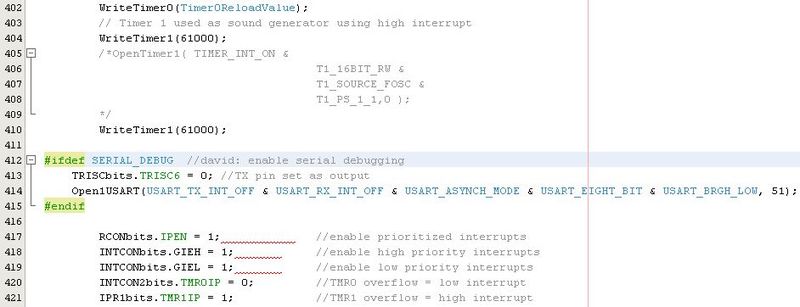
Next we’ll add some code in the existing init() function to initialize and open the serial port. This sets the port to 9600 baud, 8 data bits, 1 stop bit and no parity.
#ifdef SERIAL_DEBUG  //david: enable serial debugging
	TRISCbits.TRISC6 = 0; //TX pin set as output
	Open1USART(USART_TX_INT_OFF & USART_RX_INT_OFF & USART_ASYNCH_MODE & USART_EIGHT_BIT & USART_BRGH_LOW, 51);
#endif
Send to the serial port
We now have an open serial port we can write data to. In the rest of the code we can include statements that send text, variable values etc to our serial console. We’ll put these between #ifdef statements so that they’ll only be compiled into the code if #define SERIAL_DEBUG is set.
Where the variables are declared, add the declaration of a temporary string buffer debugstring:
#ifdef SERIAL_DEBUG
	char debugstring[80];
#endif
In the code, at the location where you want to send debug info, add:
#ifdef SERIAL_DEBUG
	sprintf(debugstring, "test %i\r\n", somevariable);
	puts1USART(debugstring);
#endif

If you don’t need to send the value of a variable but rather a constant string, you can simply write:
puts1USART("\r\nINIT_BUTTON pressed!");// Send debug data to serial port
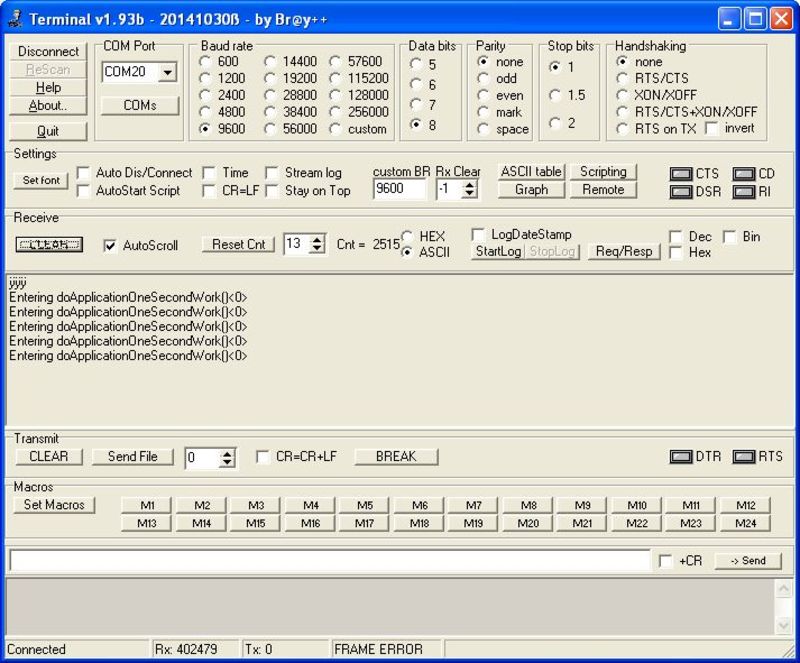
If we now open a terminal session, we’ll be able to see the debugging output as the code is running. In this case, every time the program enters the doApplicationOneSecondWork() function it will send a notification to our terminal.
Hardware connections
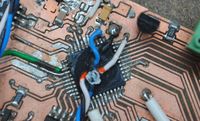
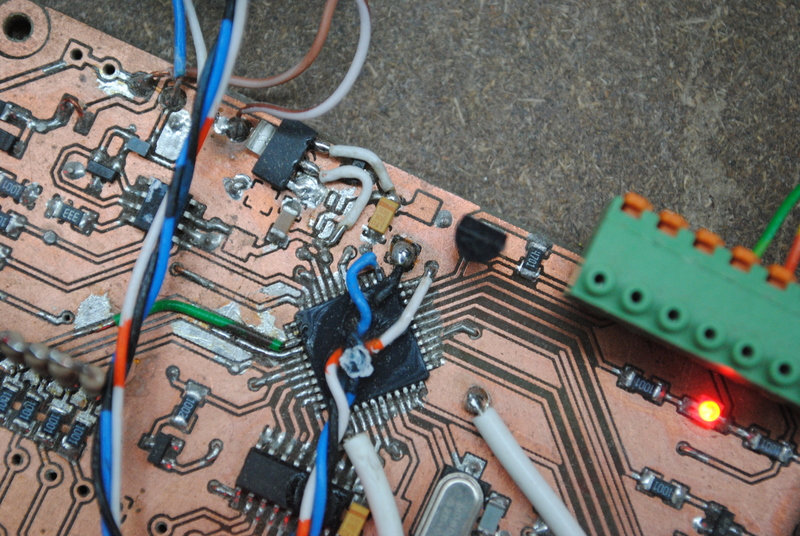
On a hardware level, the serial port needs to be connected to pin C6 on the microcontroller. Don’t forget to hook up ground as well. I soldered wires directly to the microcontrollers’ pins, in hindsight it would’ve been better if I had broken out these pins to test pads. You’ll notice that I have connected the RX pin (C7) as well, it’s not necessary but I decided to do it while I was in there soldering anyway. It might come in useful.
In the picture below, TX is the white/orange wire, RX is the blue wire. The black ground wire was soldered to a spare ground pad intended for a bypass cap.
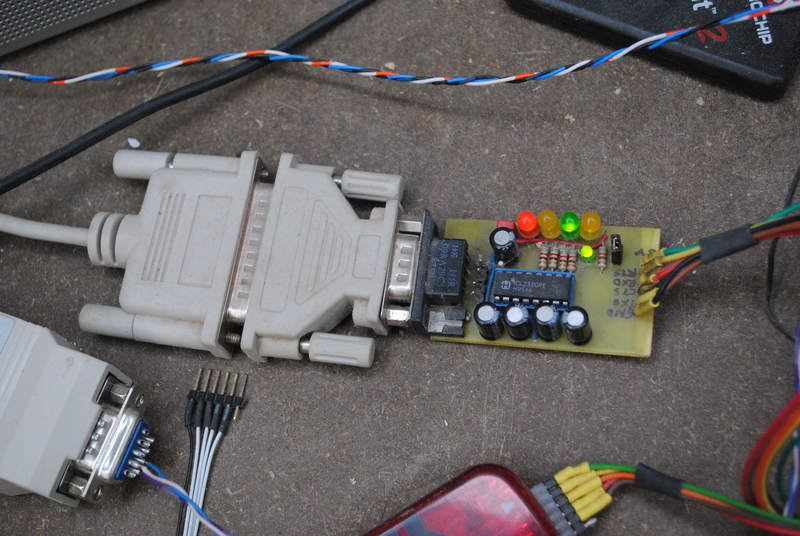
You’ll need to convert the signal levels from the TTL level as used by the microcontroller to RS-232 levels which the computer’s serial port needs. I hooked up a MAX232 breakout board which I made ages ago, these days it’s easier to get a pre-made serial-to-TTL converter board from eBay (such as those based on the Prolific PL2303HX or the FTDI FT232RL chip chips. Although in light of the issue with FTDI drivers that brick devices, it is perhaps better to stay away from FTDI chips.
