PML Intruder Level 1 Certification Flight
After months of preparation, I successfully completed my Tripoli Level 1 high-power rocketry certification on March 1, 2026, at the Tripoli The Netherlands launch site in Exloo. This post documents the build process and flight of my PML Intruder rocket.
The Goal#
The Tripoli Level 1 certification allows flyers to use H and I-class motors (up to 640 Newton-seconds total impulse). To earn this certification, you must successfully build and fly a high-power rocket with an H motor, demonstrating safe construction and recovery.
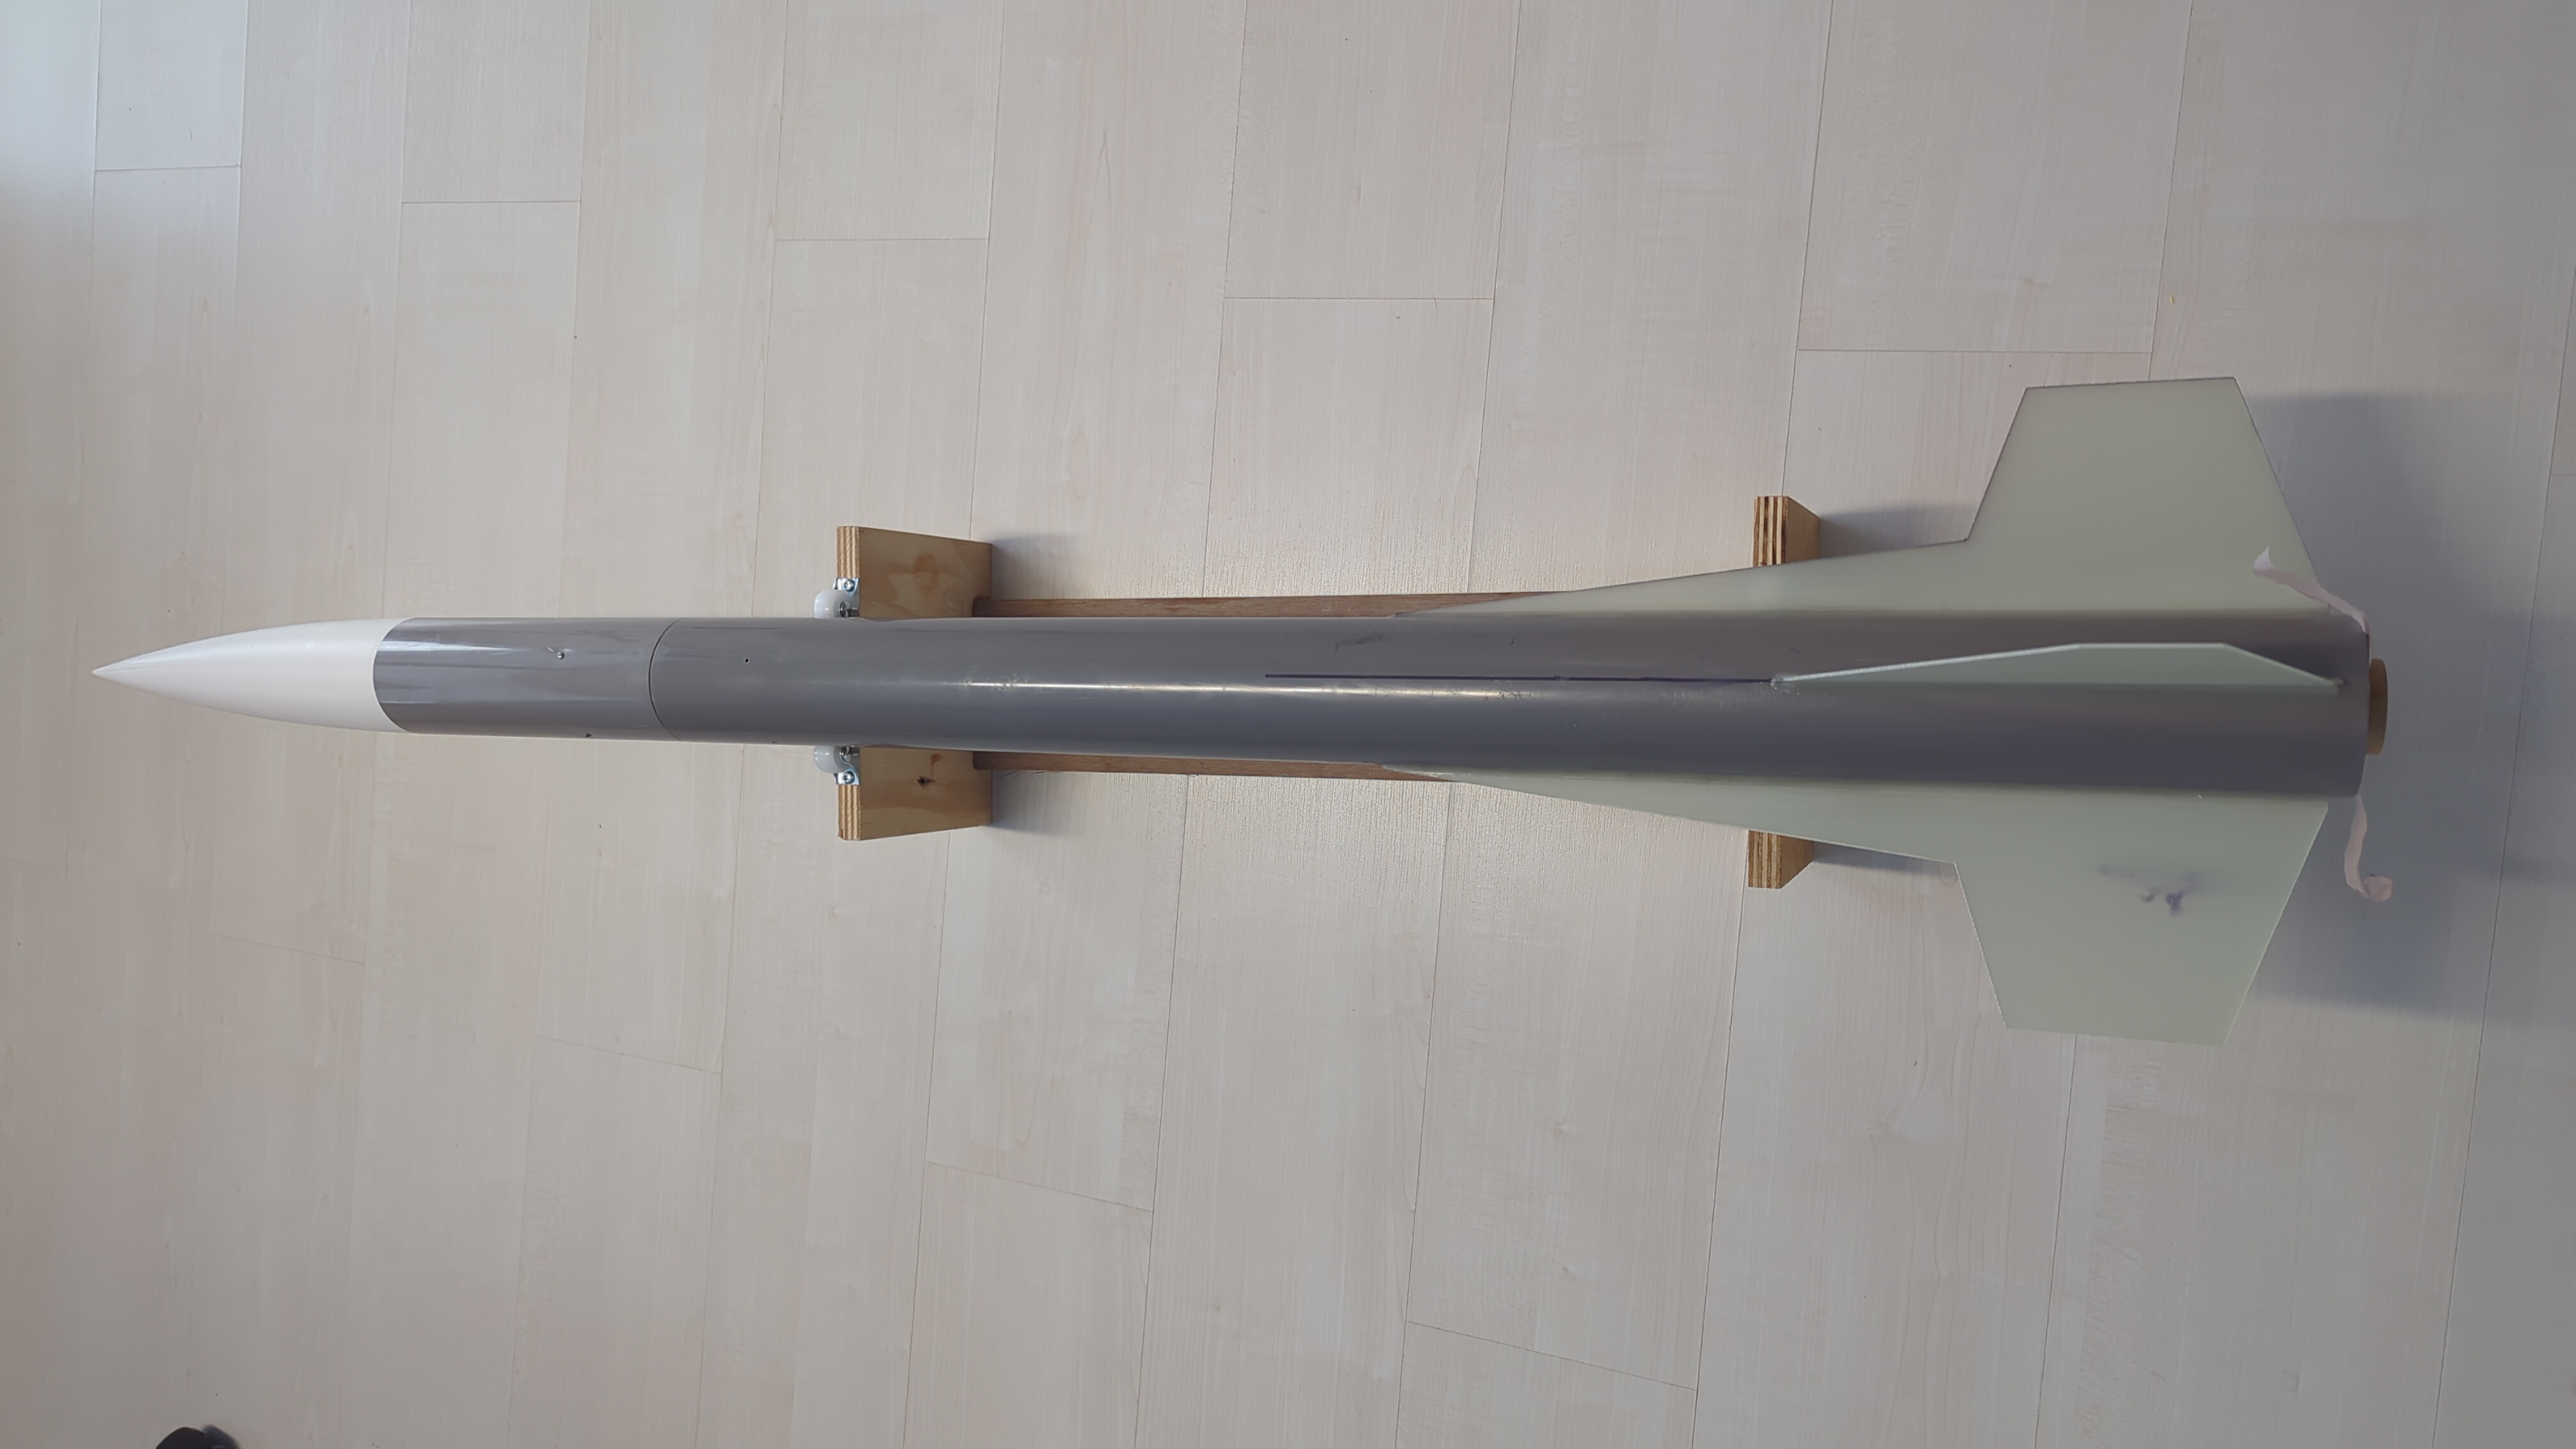
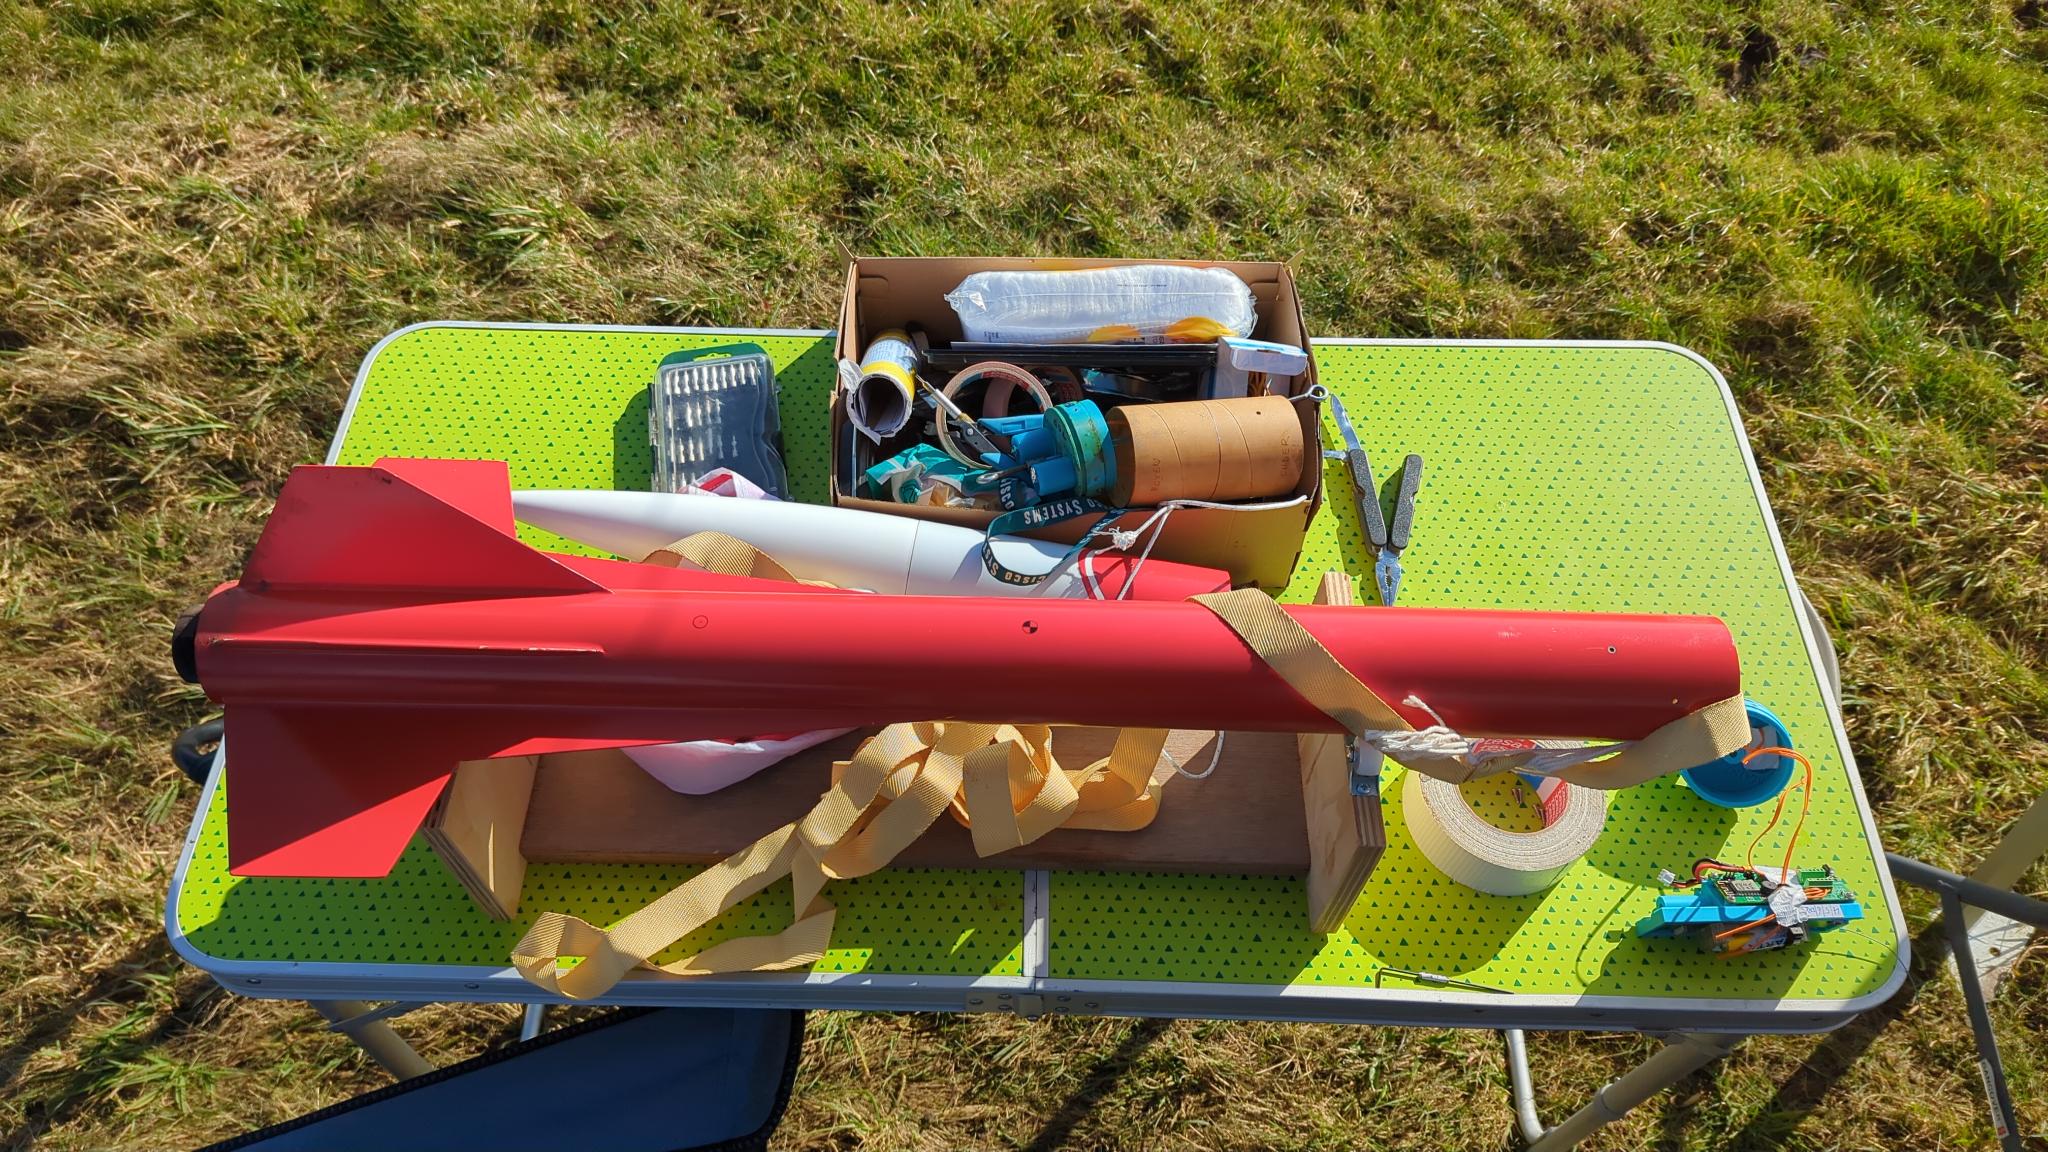
The Rocket: PML Intruder#
I chose the PML Intruder from Public Missiles Ltd, a classic 80mm diameter kit well-suited for Level 1 certification flights.
Here are the specifications:
| Specification | Value |
|---|---|
| Length | 1,490 mm |
| Diameter | 80 mm |
| Mass (without motor) | 2,103 g |
| Mass (with motor) | 2,364 g |
| CG (from nose tip) | 912 mm |
| CP (from nose tip) | 1,150 mm |
| Stability margin | 2.99 calibers (16.1%) |
Flight Simulation#
Using OpenRocket, I simulated the expected flight characteristics with the Aerotech H219T-14A motor:
| Parameter | Value |
|---|---|
| Simulated apogee | 360 m |
| Maximum velocity | 89 m/s (Mach 0.262) |
| Maximum acceleration | 116 m/s² (11.83 g) |
| Coast time (burnout to apogee) | 8.6 seconds |
The stability margin of nearly 3 calibers provided excellent weathercocking resistance while remaining stable throughout the flight envelope.
Recovery System#
The Intruder uses a single deployment configuration. I chose to put two parachutes on a single shock cord because of the extra weight of the avionics bay, and because I wanted a really slow touchdown. The rocket wasn’t flying high anyways.
- Main parachute: Stock PML 36-inch (915 mm) nylon chute
- Secondary parachute: An 850 mm white parachute recovered from an iMet-4 radiosonde, launched by the military weather service in Beauvechain
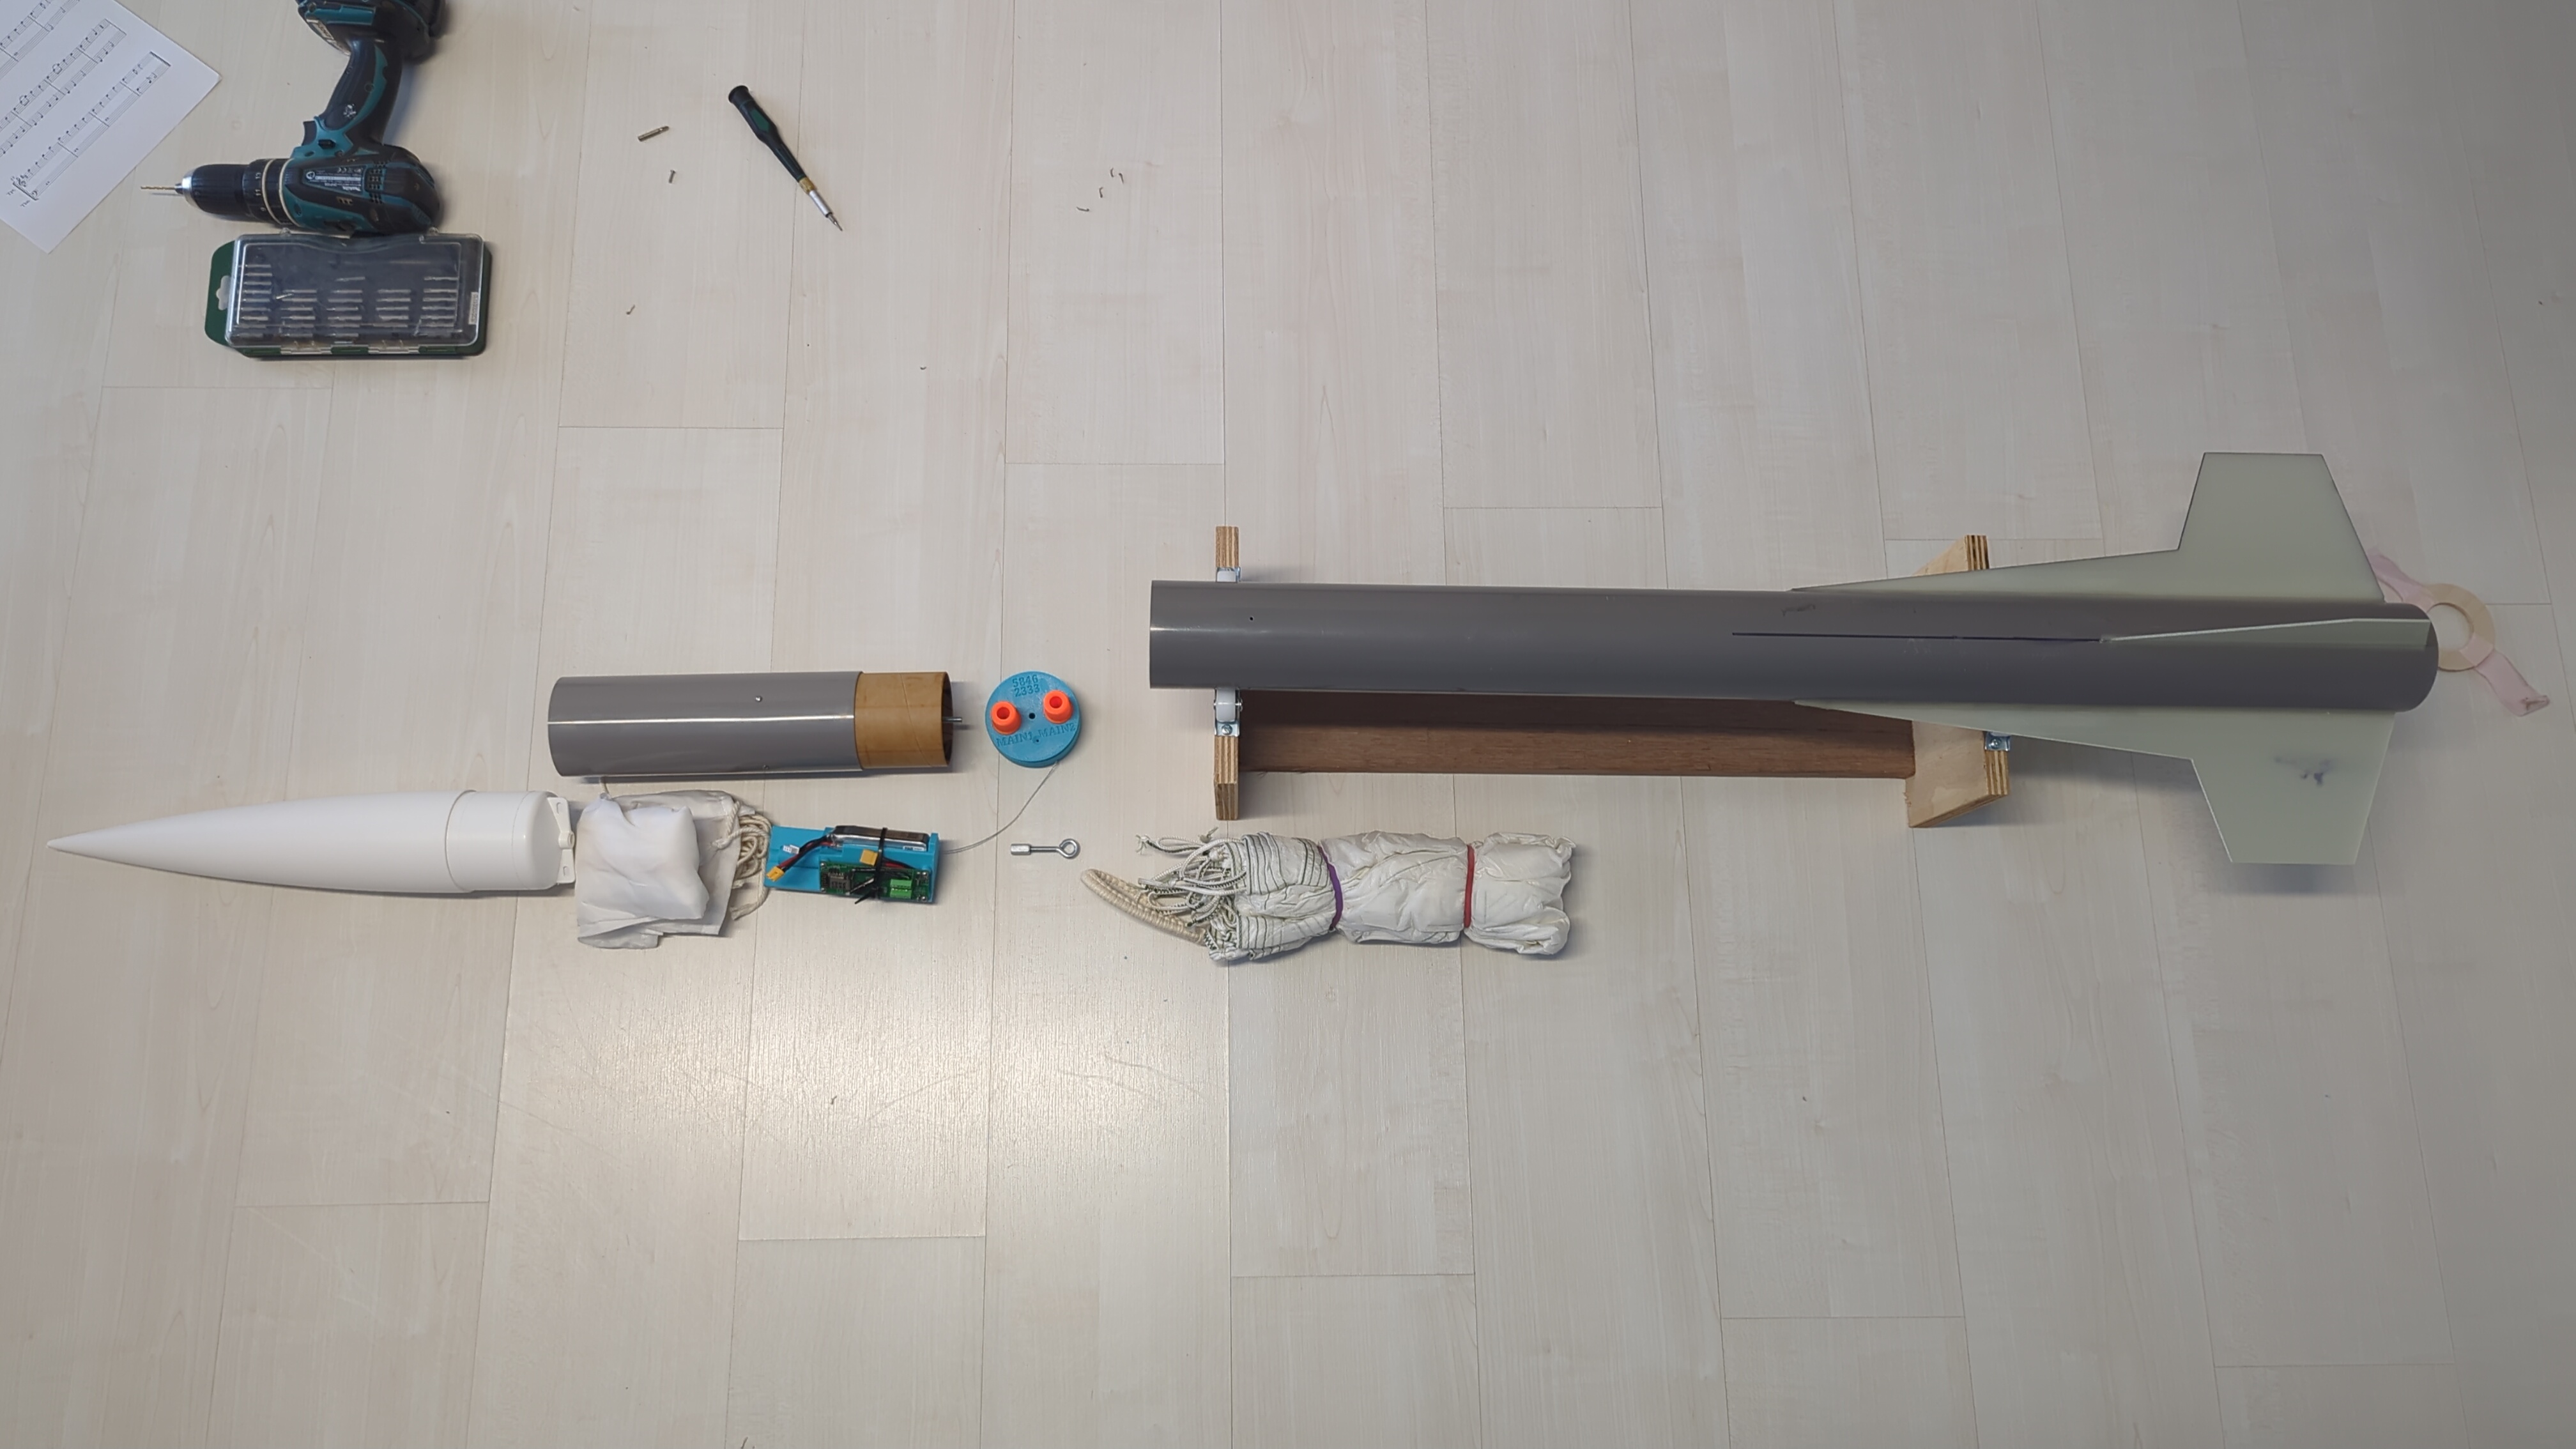
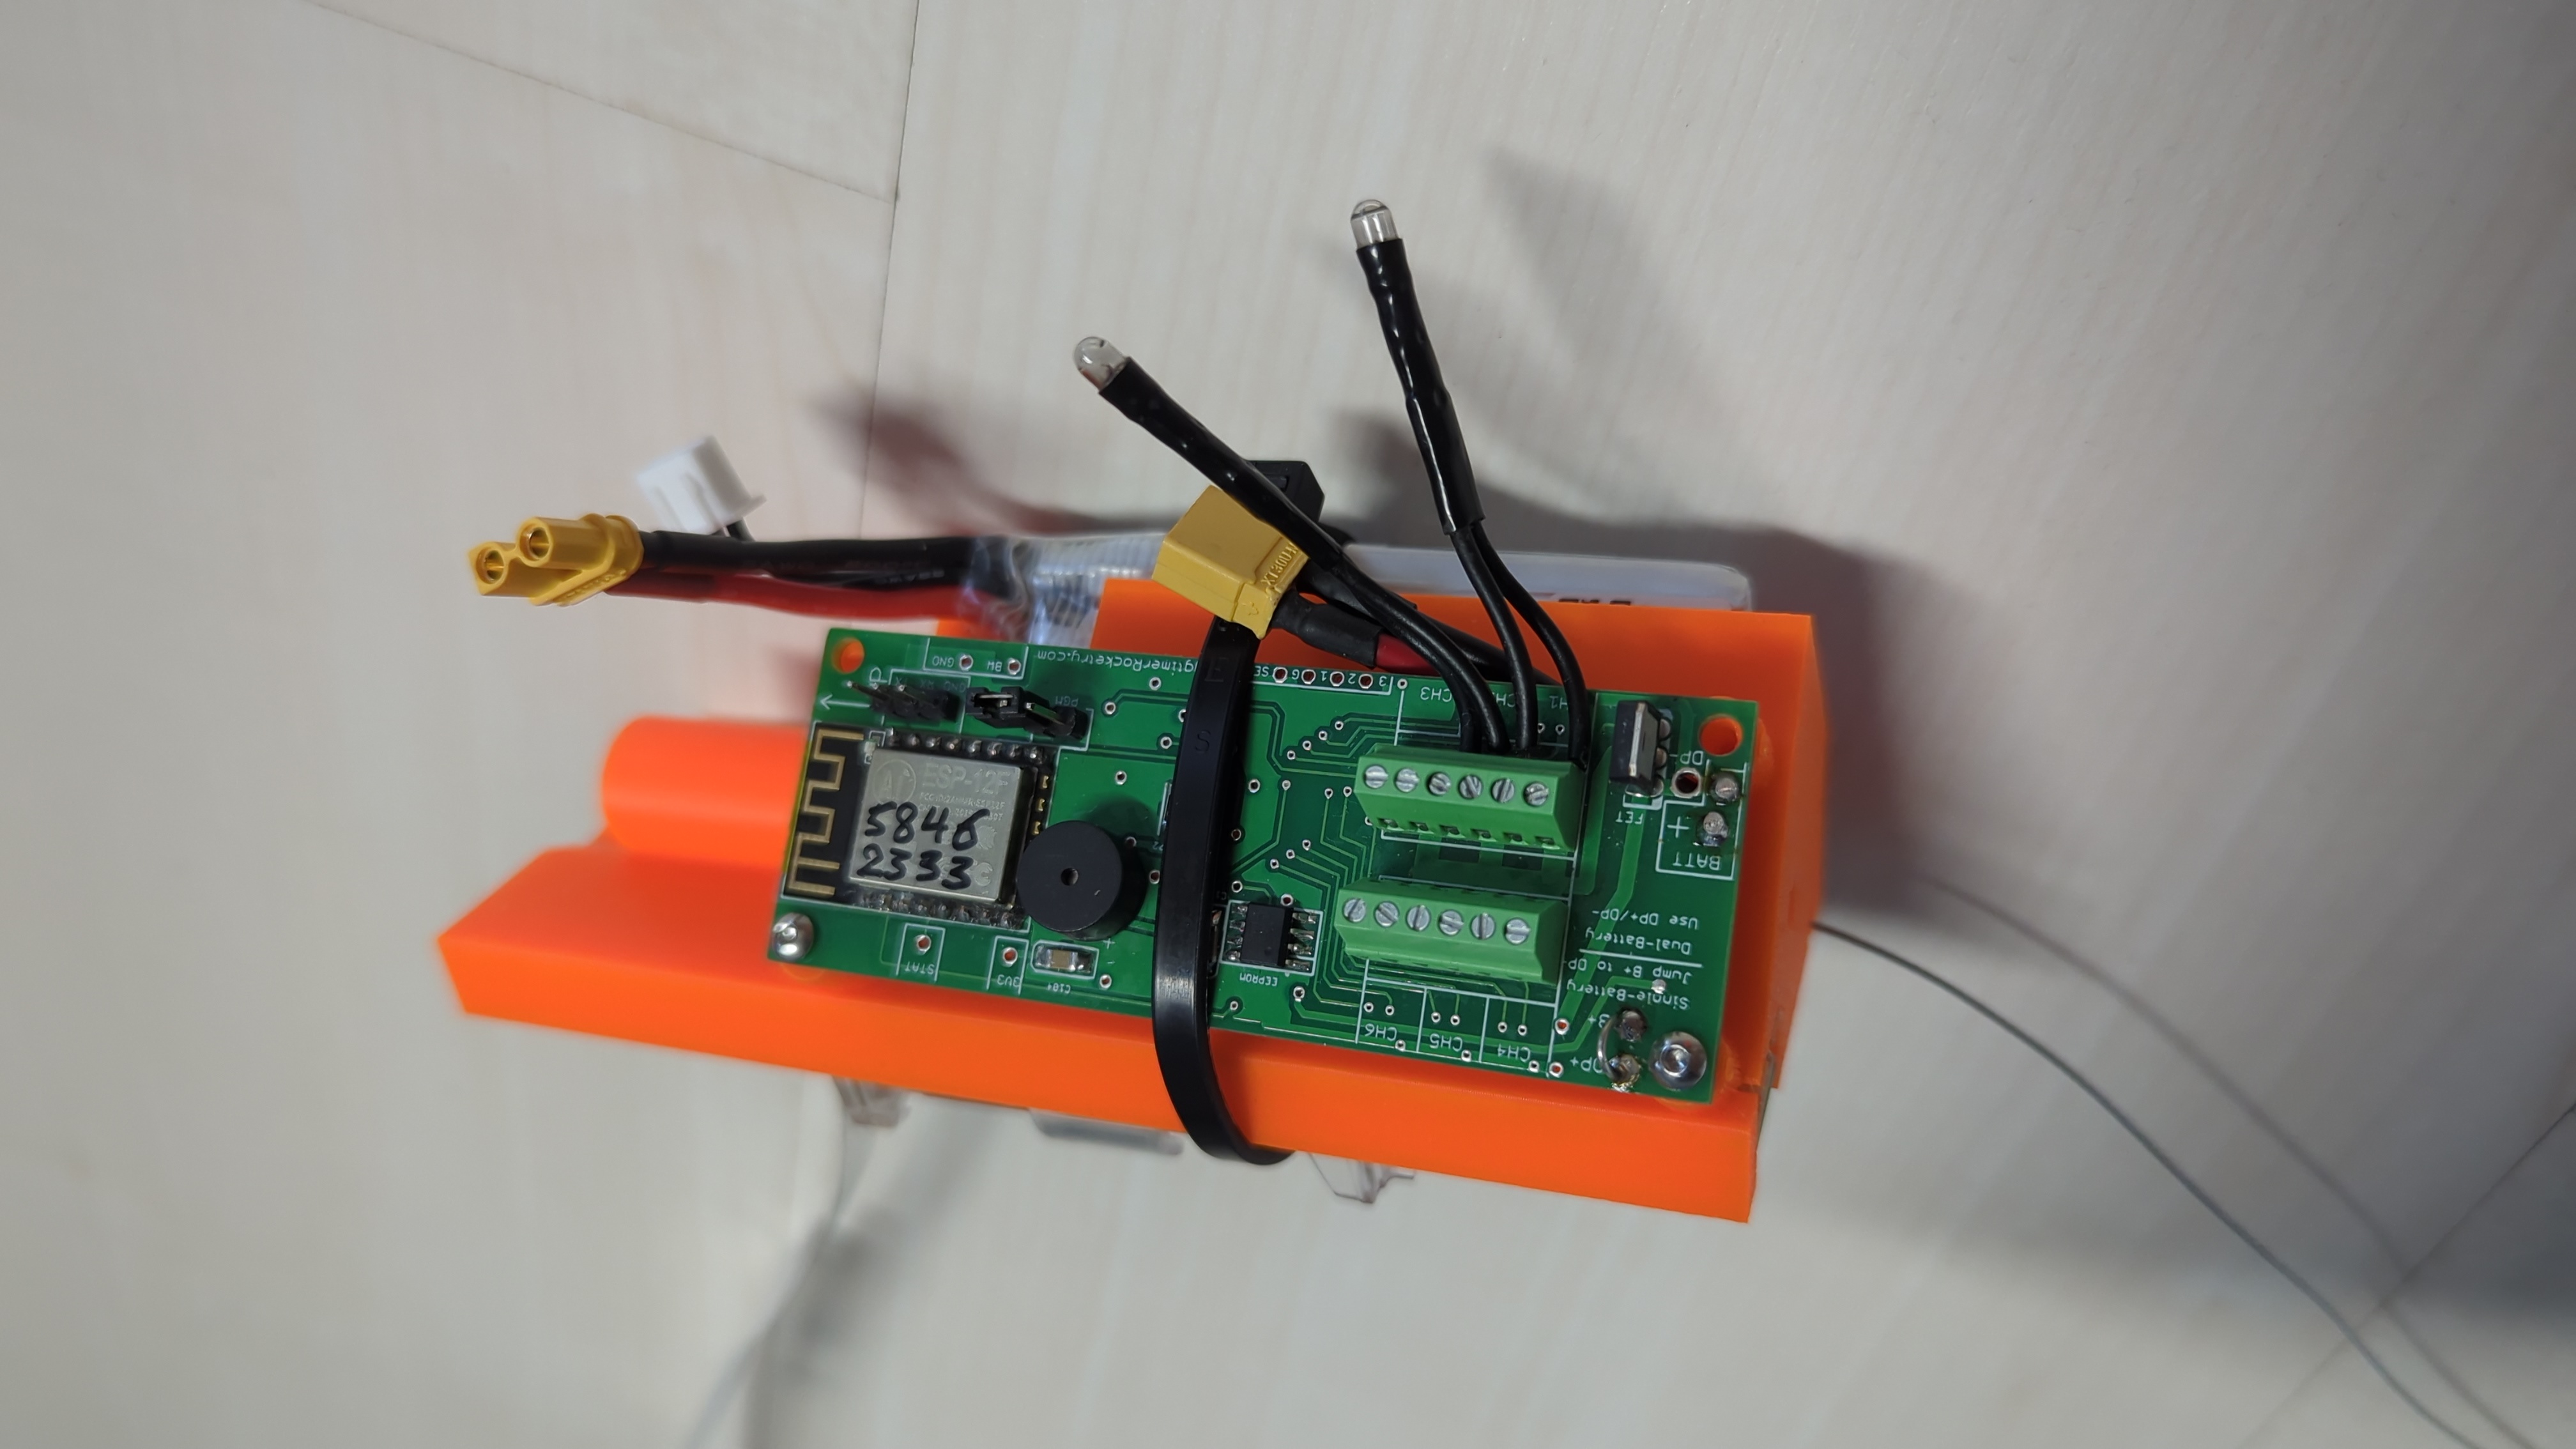
The deployment is handled by an Eggtimer Proton flight computer that I soldered myself from a kit:
- Main deployment: Dual redundant ejection charges fired at nose-over (approximately 1 second after apogee). Motor ejection as a backup, using the piston included in the kit.
- Drogue deployment: Dual apogee charges configured but tested in-flight only (igniters installed without charges to verify they would fire)
The dual-redundant main charge setup on the Proton, as well as the motor ejection as a backup, provides extra reliability for the critical deployment event. I configured the dual drogue setup as a test for the dual-deployment configuration I plan to use for my Level 2 certification flight.
Tracking#
For flight tracking and recovery, I installed a Vaisala RS41 GPS tracker in the payload bay. The RS41 is actually a radiosonde, launched by our local weather service, that I recovered and reprogrammed to amateur radio frequencies. I track it using a TTGO device running the mysondygo firmware, with a companion mobile app that displays real-time position data.
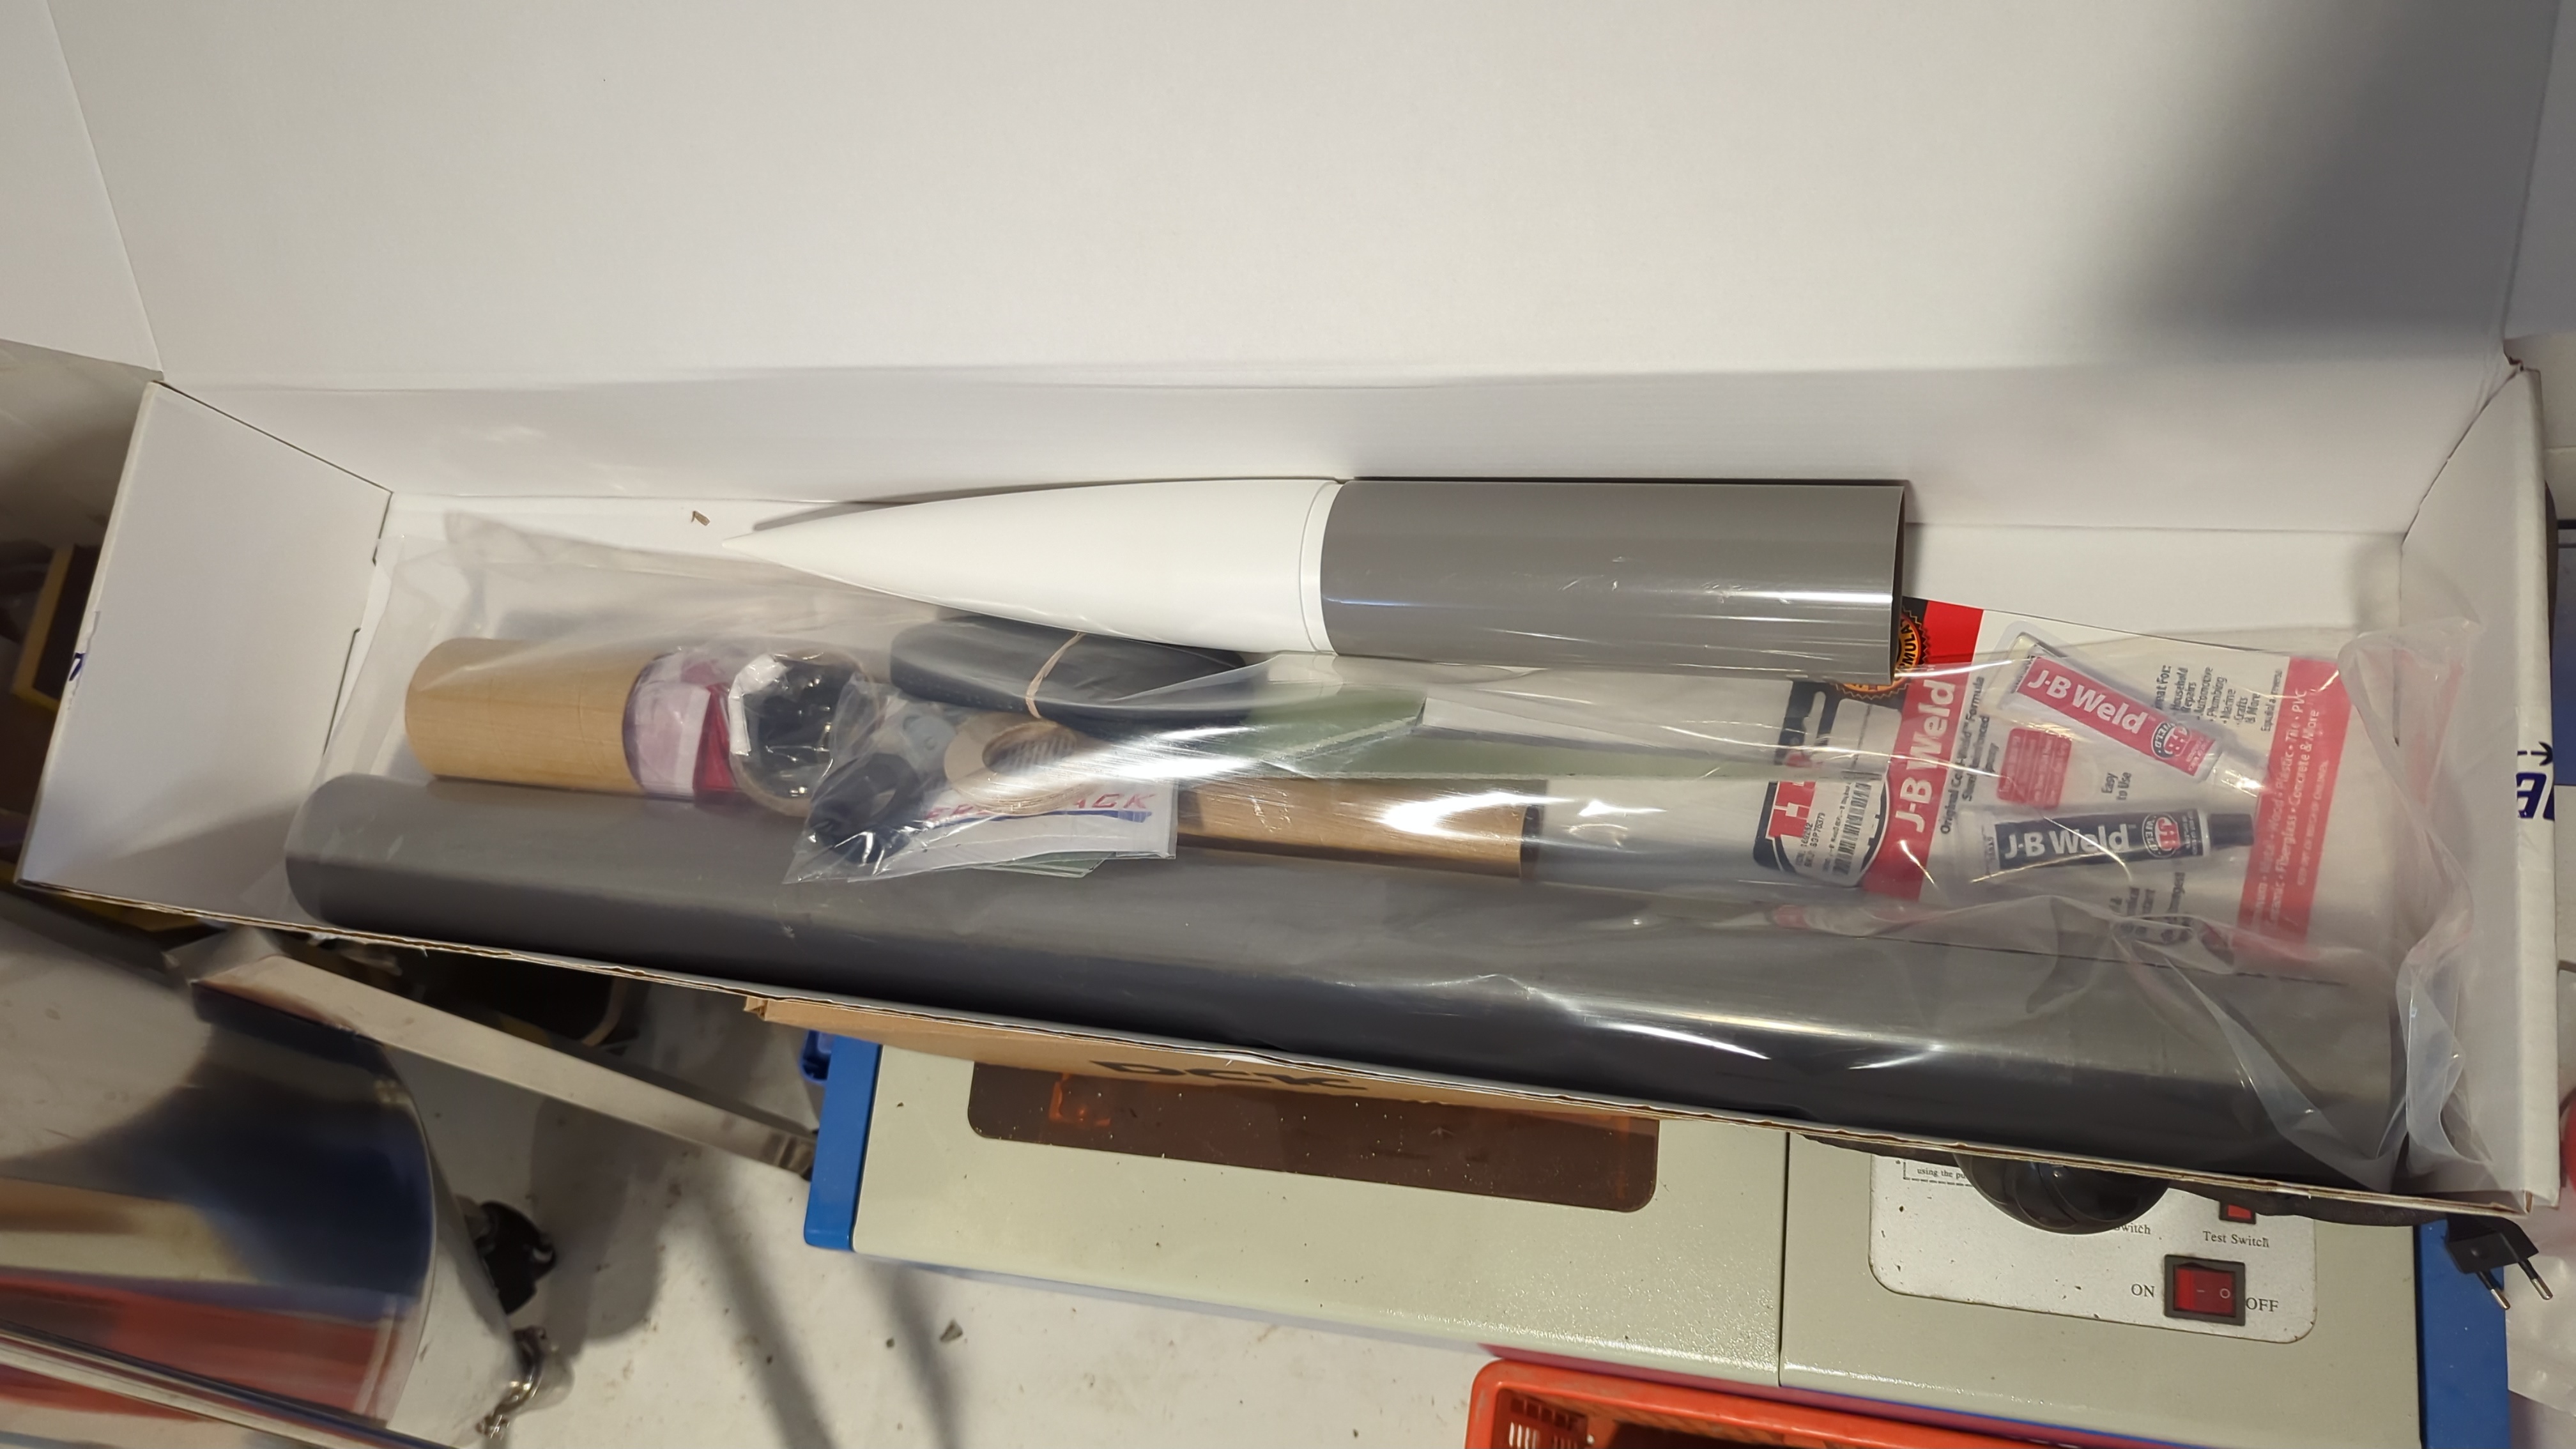
Build Process#
Avionics Bay#
The avionics bay houses the Eggtimer Proton flight computer and RS41 tracker. Key features of the build:
- The Proton is mounted with “UP” labels pointing toward the nosecone for correct apogee detection
- Three 4 mm vent holes drilled in the AV bay for barometric pressure sensing
- All wiring properly secured to withstand flight G-forces
- 2S/7.4V LiPo battery (500 mAH) provides power for the Proton
- 3D printed screw-in charge wells to accommodate different sized ejection charges
The avionics bay was custom designed in Tinkercad and 3D printed in PLA.
Fin Alignment#
Proper fin alignment is critical for stable flight and to avoid roll. I laser-cut a custom fin alignment jig to ensure the fins were perfectly straight and symmetric. The fins are attached through the body tube and onto the motor tube with epoxy, and filleted for maximum strength.
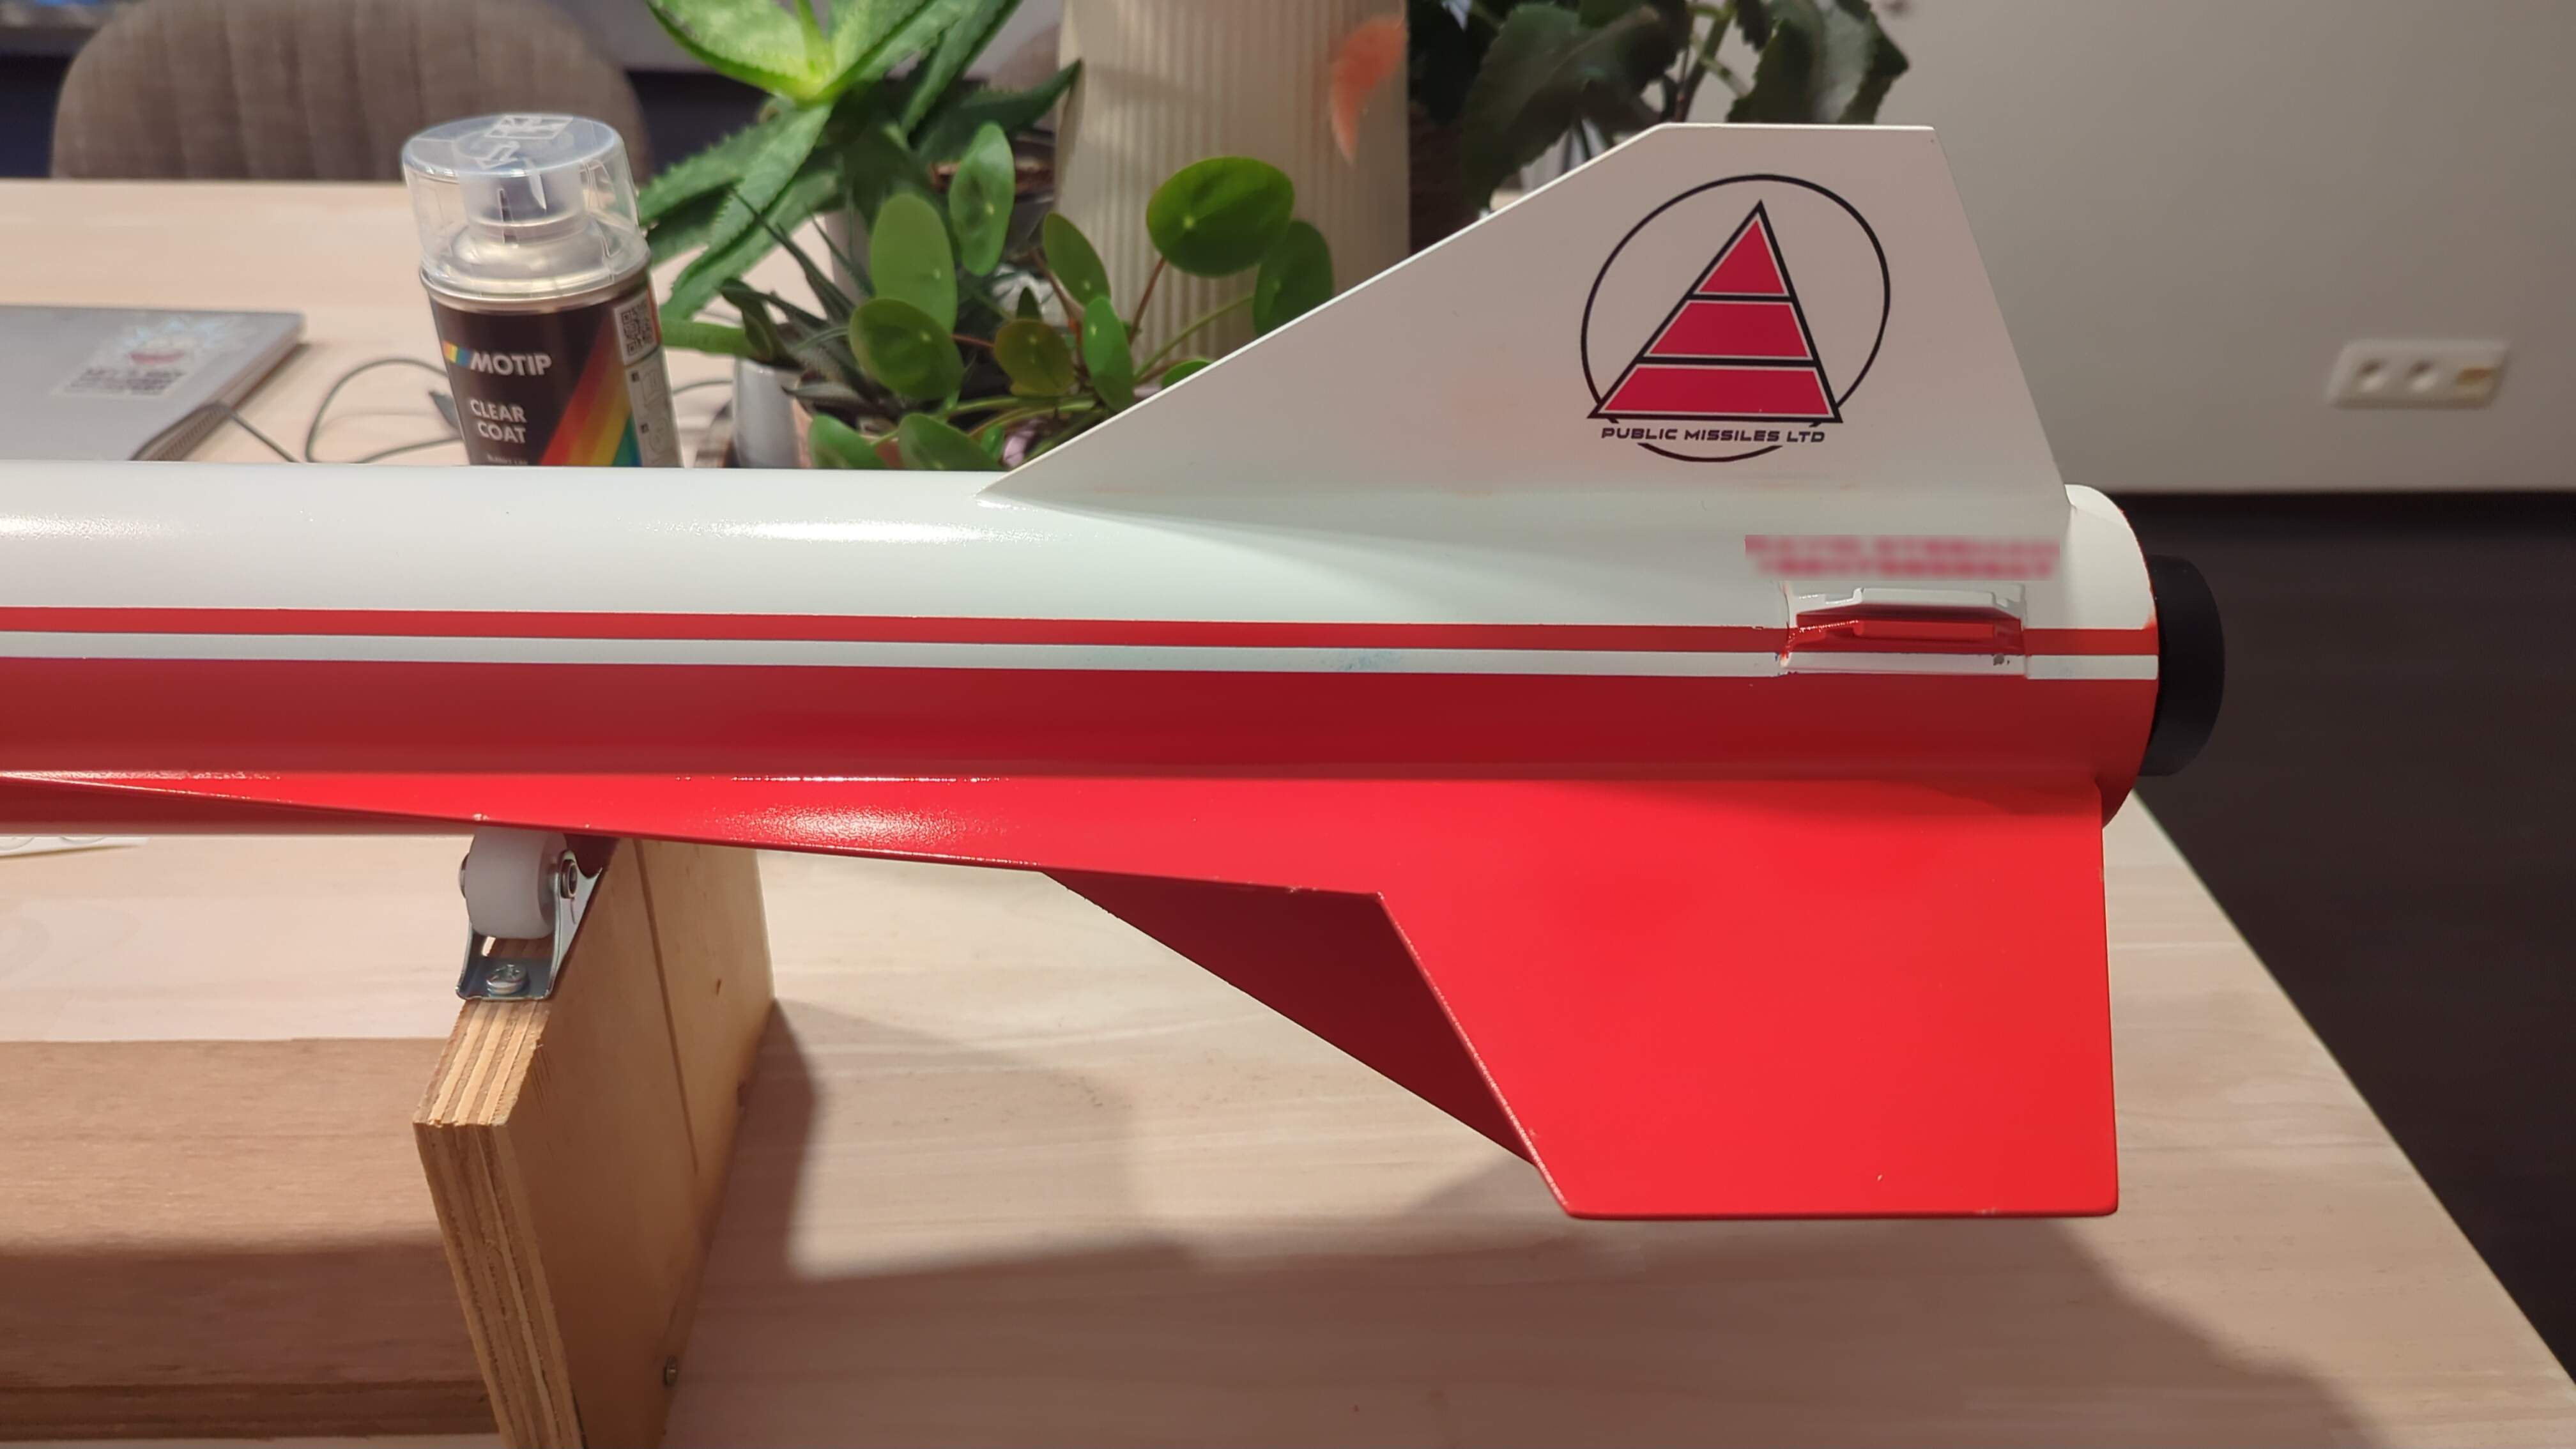
Paint and Finish#
The rocket received the default PML paint scheme - a white base coat with red accents. A good plastic primer is essential for the paint to adhere to the Quantum body tube. I used automotive pinstriping tape to mask off the design.
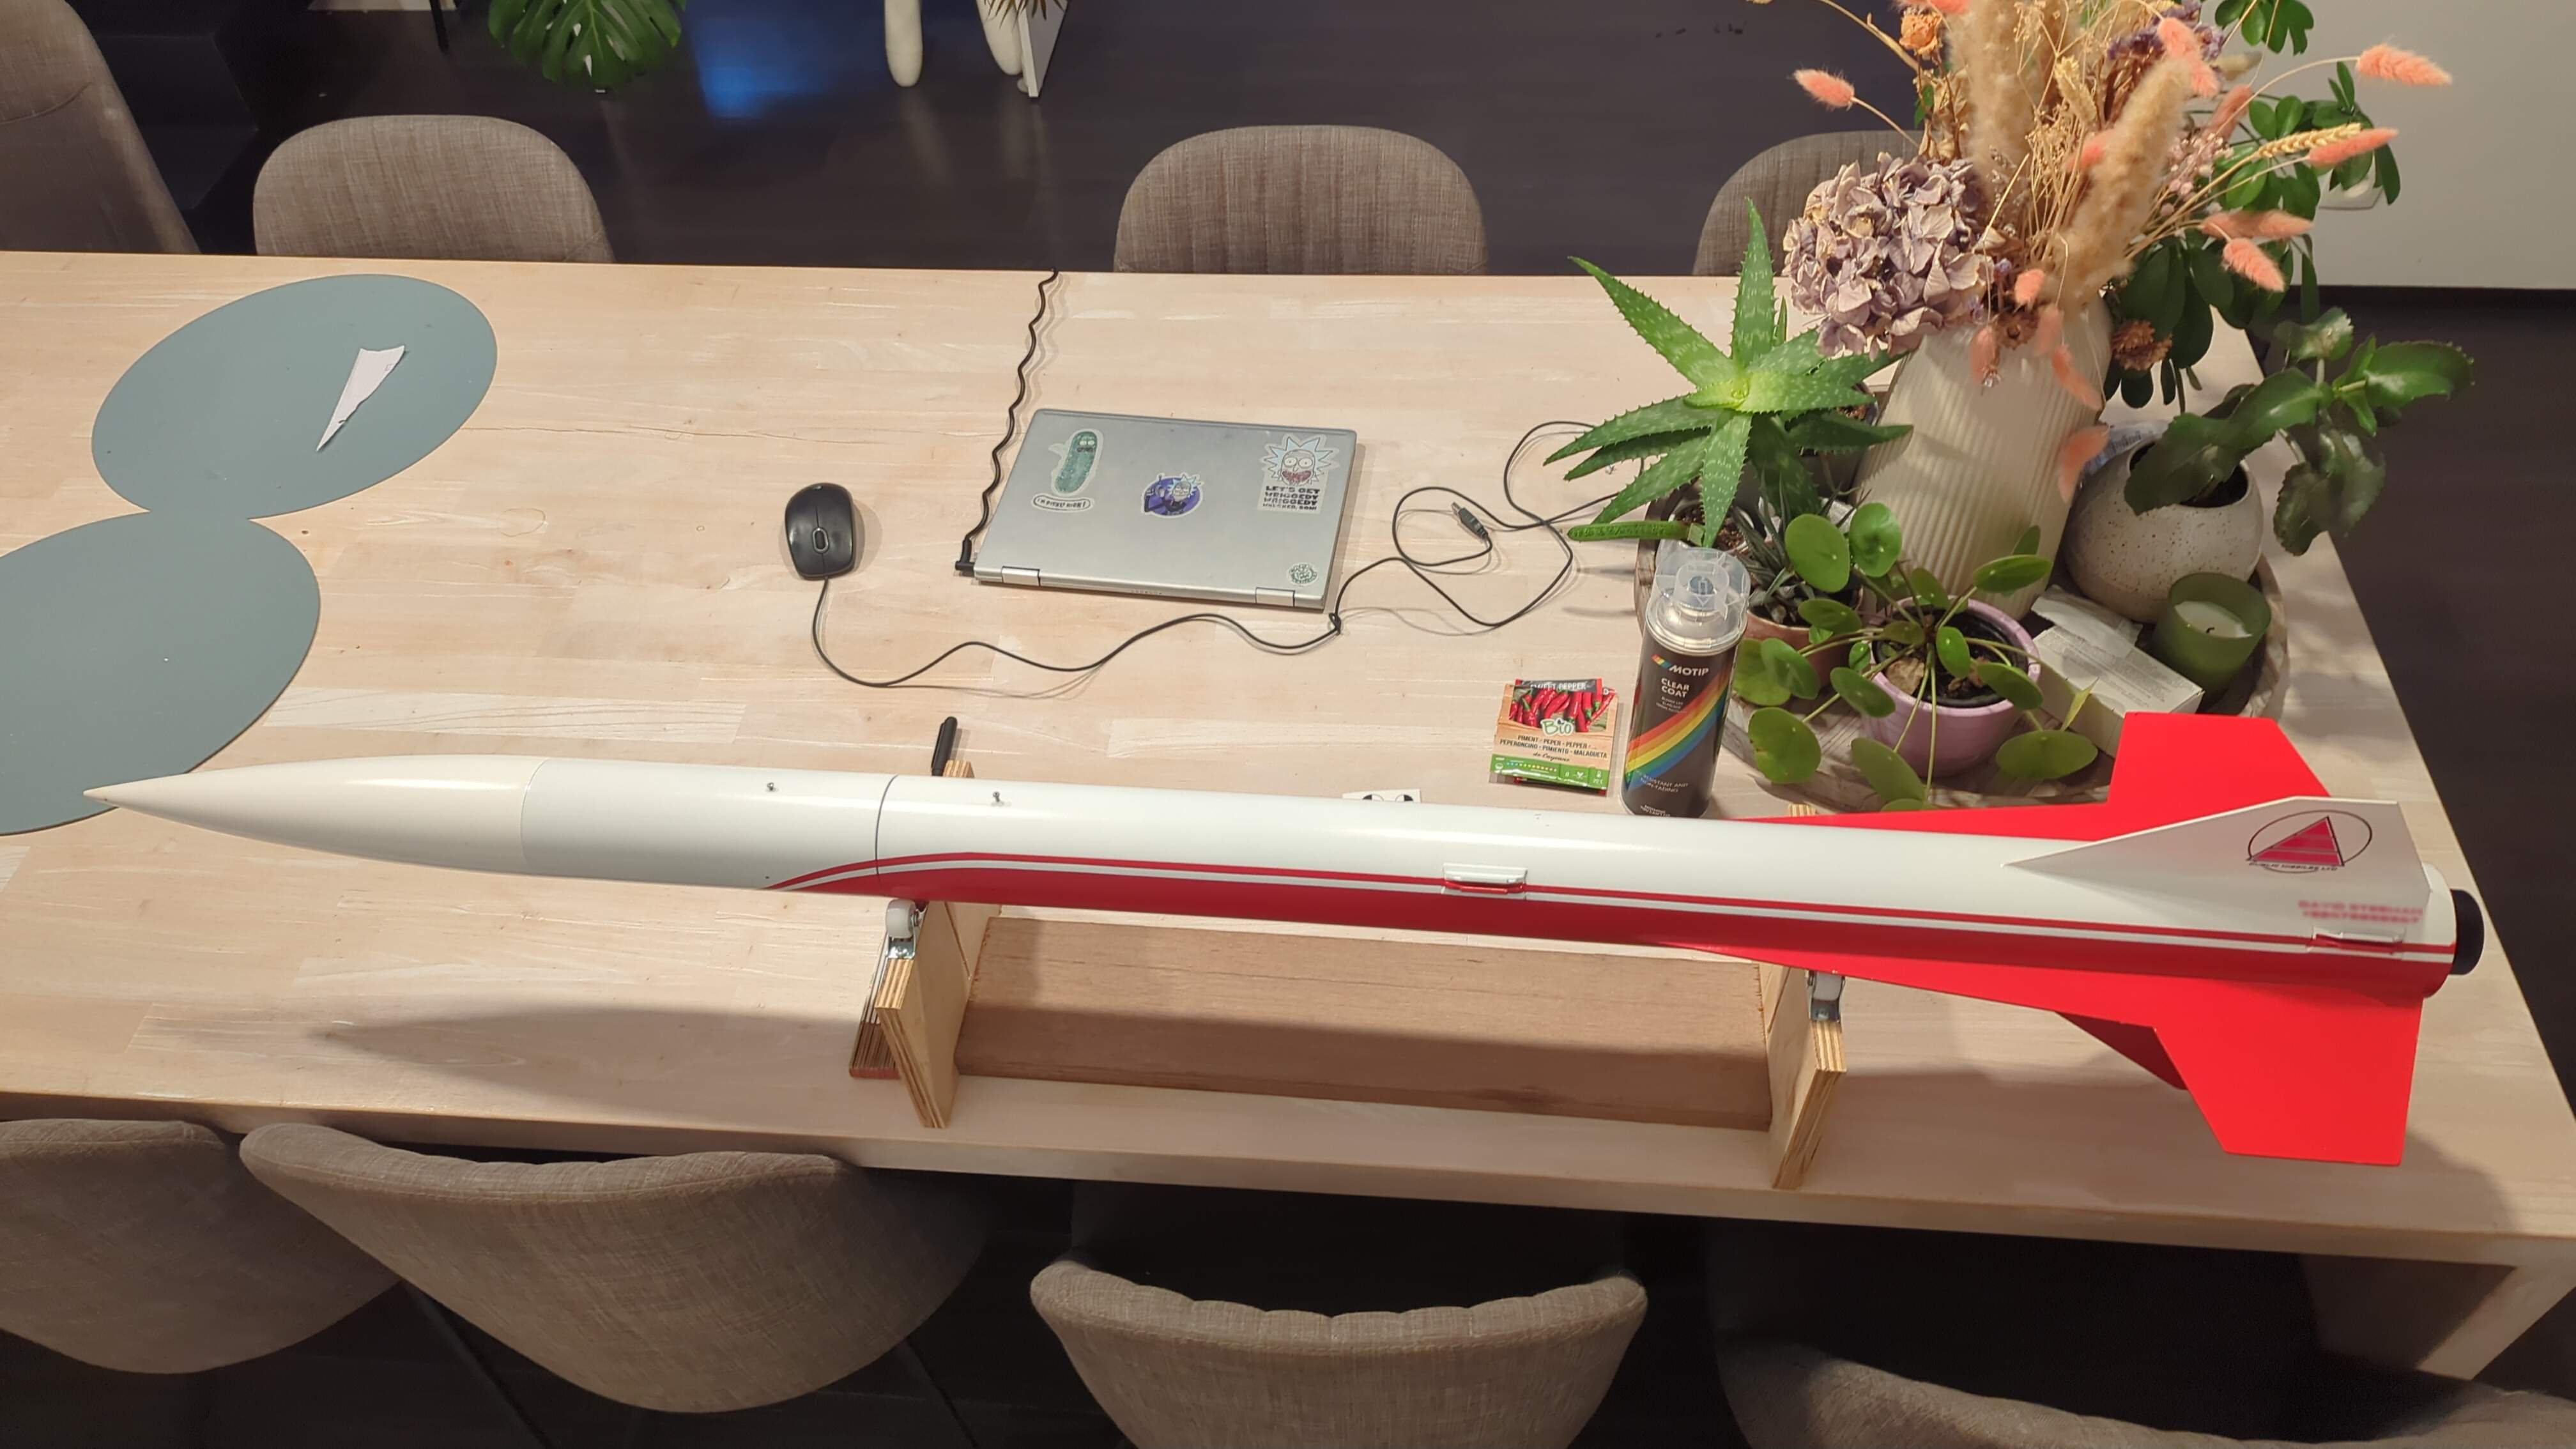
The kit came without decals, so I redesigned the old PML logo in Inkscape. I applied the custom decals using waterslide decal paper and clearcoated over them for protection. The high-visibility color scheme helps with visual tracking during flight and locating the rocket after landing.
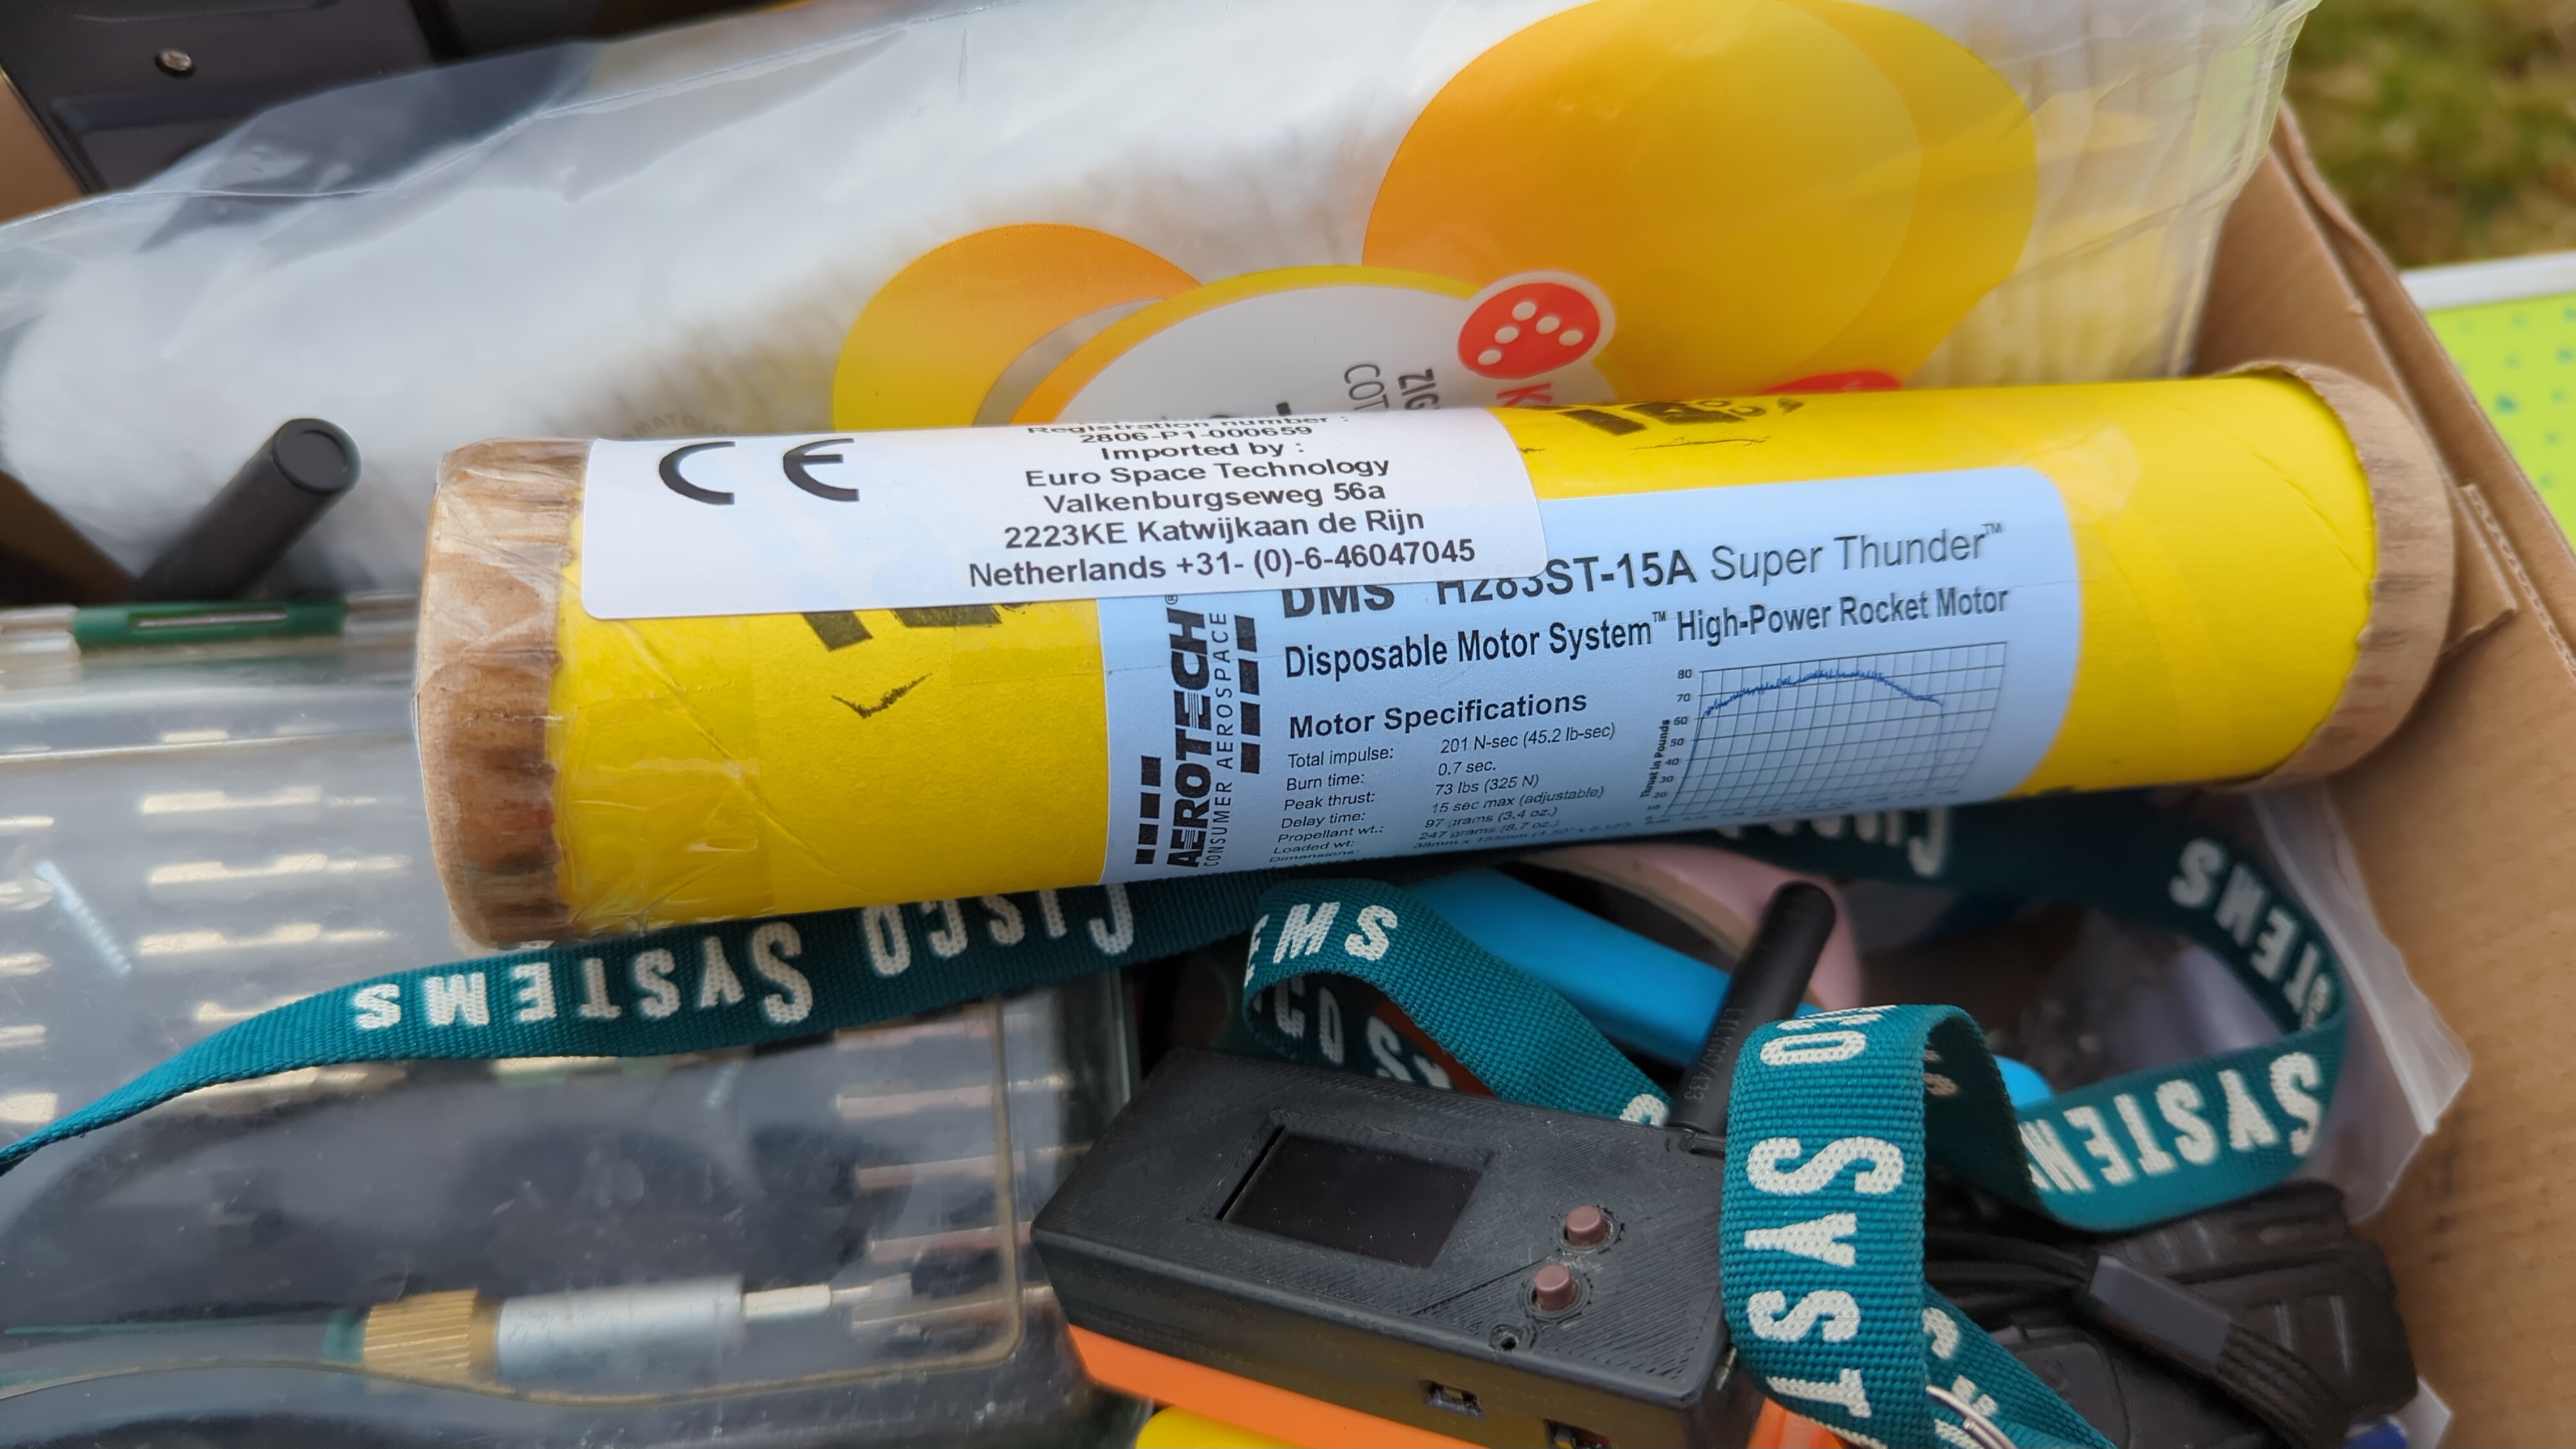
The Motor: Aerotech H219T-14A DMS#
For the certification flight, I used an Aerotech H219T-14A Disposable Motor System (DMS). This is a 38mm diameter, 155mm long single-use motor:
- Total impulse: 296 Ns (H class)
- Average thrust: 219 N
- Burn time: 1.4 seconds
- Delay: 14 seconds
The DMS format eliminates the need for motor casing assembly and reloading, making it ideal for certification flights. The less complexity of launch day the better.
Launch Day: March 1, 2026#
Pre-Flight Checklist#
Following my comprehensive launch checklist, I:
- Verified all airframe components and recovery system
- Confirmed Eggtimer Proton channel continuity (both igniters showing AQUA status)
- Powered on and verified RS41 tracker transmission & reception
- Completed RSO (Range Safety Officer) inspection
- Installed motor, put the rocket on the rail and armed the Proton
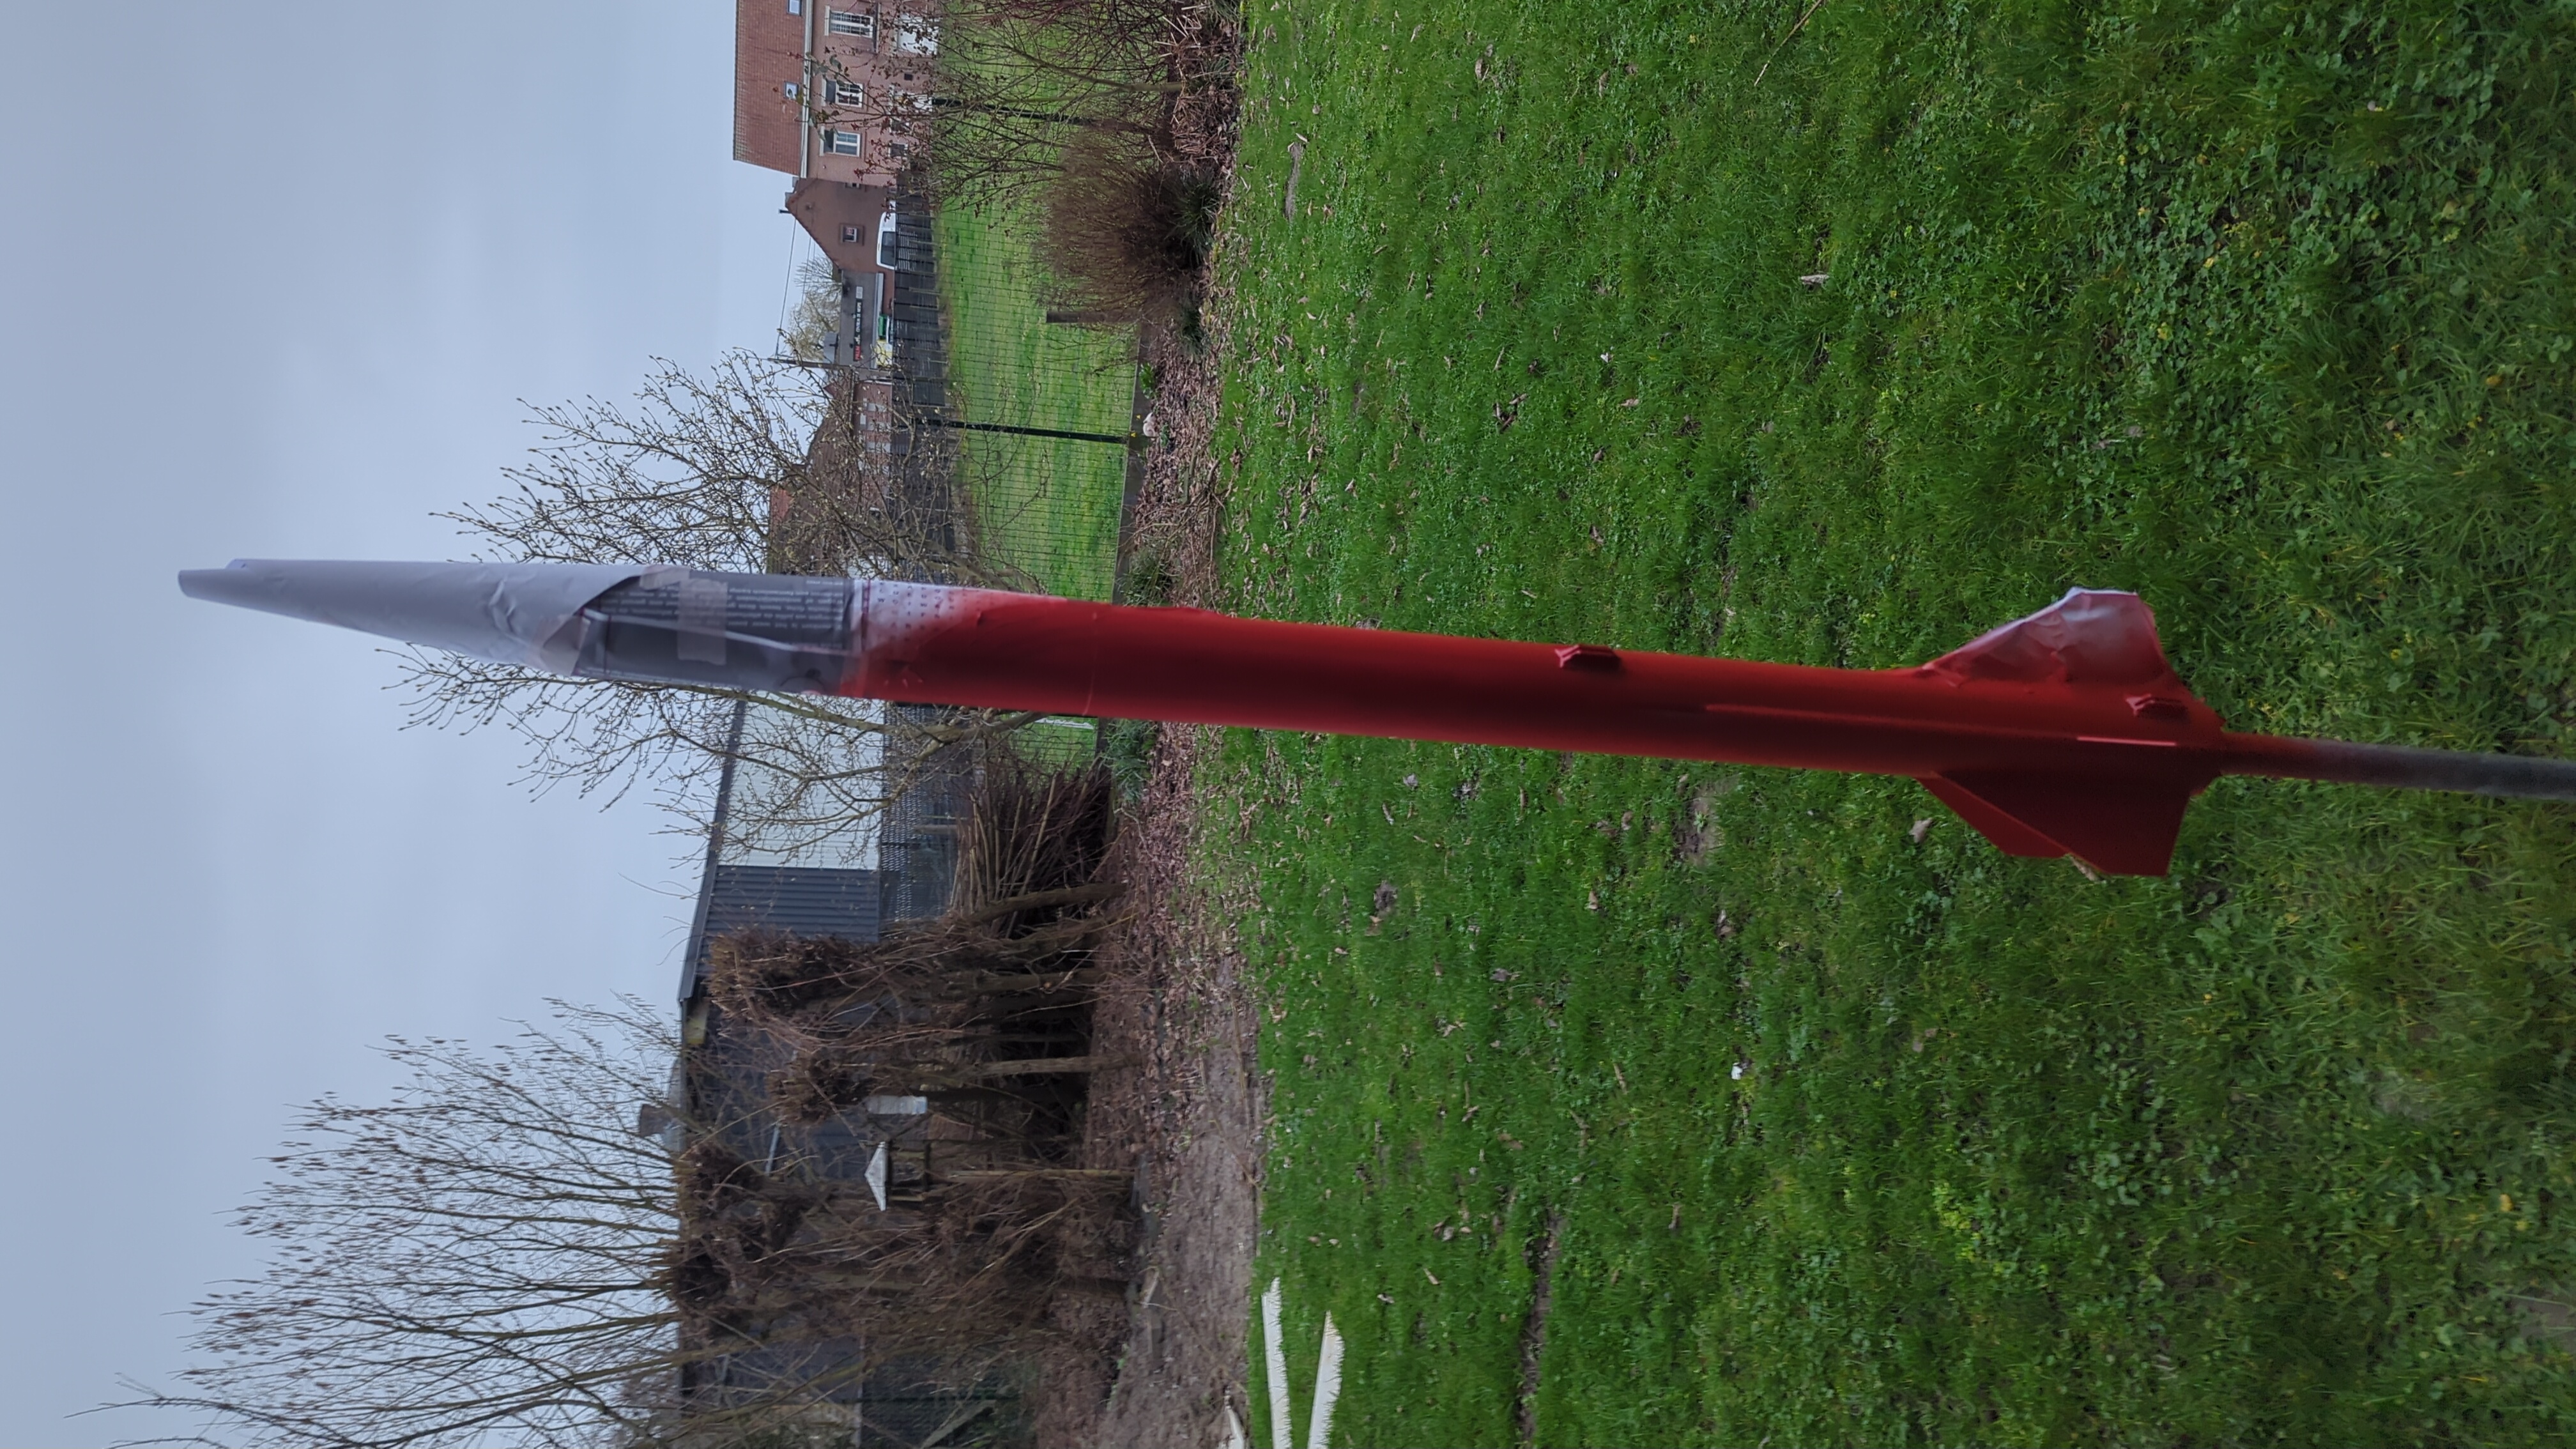
The Flight#
The countdown proceeded smoothly. At ignition, the H219T delivered a perfect boost, accelerating the 2.3 kg rocket off the rail. The flight appeared nominal throughout the burn phase.
At apogee (approximately 360 meters altitude), the Eggtimer Proton fired the deployment charges.
Recovery#
Only the larger main parachute deployed successfully. The smaller iMet-4 parachute got stuck in the body tube because an elastic band I used to wrap the shock cord got wedged between the piston and the body tube. Fortunately, the rocket descended in a stable manner and touched down unharmed.
The larger chute showed some signs of burning from the ejection charge - I need to use a nomex blanket next time to protect the parachute.
The RS41 tracker performed flawlessly, providing real-time GPS coordinates throughout the flight. The rocket landed safely in the recovery area, approximately 100 meters from the launch pad.
Post-Flight Analysis#
After recovery, I inspected the rocket:
- Main parachute deployed correctly but showed minor burn damage
- Smaller parachute stuck due to elastic band interference
- Shock cord showed no signs of wear or heat damage
- Motor retainer remained secure with no gas blow-by
- All fins firmly attached with no damage
- Avionics bay intact with successful flight data recorded
The Proton flight computer recorded the full flight profile, confirming the apogee altitude and deployment timing matched the OpenRocket simulation closely.
Certification Achieved#
With the successful flight and recovery, I passed my Tripoli Level 1 certification! Many thanks to Tripoli The Netherlands for hosting the launch and to the RSOs for their guidance throughout the process.
Lessons Learned#
- Redundancy pays off: Dual igniters on the deployment charge provide peace of mind
- Checklist discipline: Following a detailed checklist prevented any last-minute surprises
- Tracker essential: The RS41 with TTGO/mysondygo made recovery straightforward, especially in a large field
- Simulate first: OpenRocket predictions were remarkably accurate for apogee and timing
- Protect the chute: Next time I’ll use a nomex blanket to prevent burn damage
- Secure the shock cord: Avoid elastic bands that can interfere with piston deployment
What’s Next#
With Level 1 certified, I’m now planning future projects including:
- Level 2 certification (J, K, L motors)
- Dual-deployment configuration for higher flights
- Onboard video recording
Stay tuned for more rocketry adventures!