Installing VSCP Daemon on Windows
 The VSCP Daemon is a service that forms an abstraction layer between the application(s) and the hardware interface. We’ll use it to allow multiple applications to connect to the bus through the same physical interface. Here’s how to install and test it on a Windows computer.
This article assumes that your VSCP environment (VSCP Works client, hardware interface, bus) has been set up and is working correctly. See my article VSCP toolchain for more information. While not absolutely necessary, it will make troubleshooting easier as you’re starting from a known good environment.
Downloading
Download the latest installer from the VSCP SourceForge repository. In this example I’m using vscp-0.4.0-win32.exe.
Installing
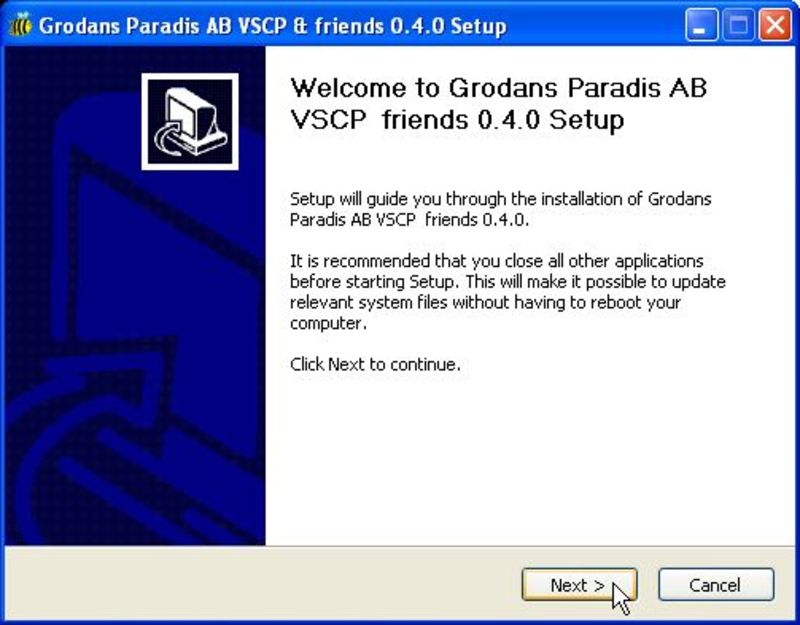
Find and double-click the vscp-0.4.0-win32.exe file which we just downloaded. The installer will open. Select the installer language here.

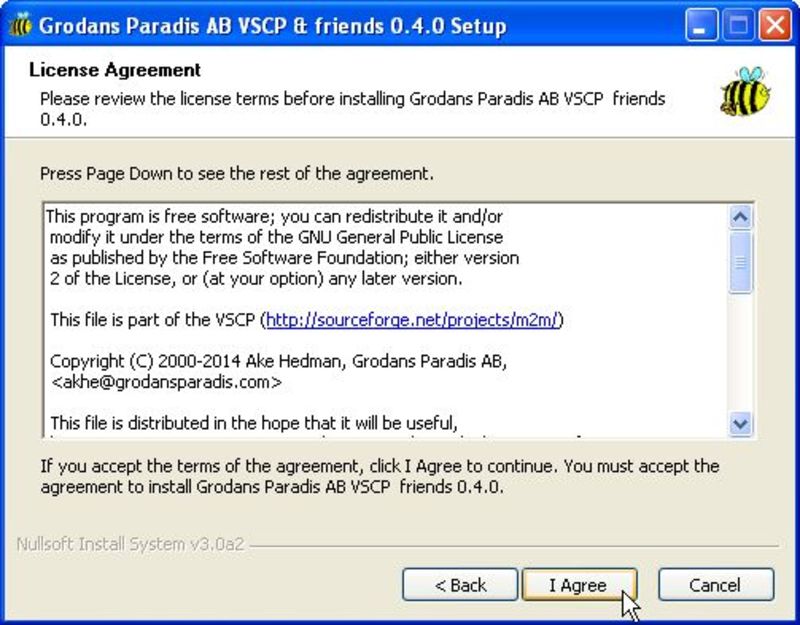
Click Next and I agree to continue.
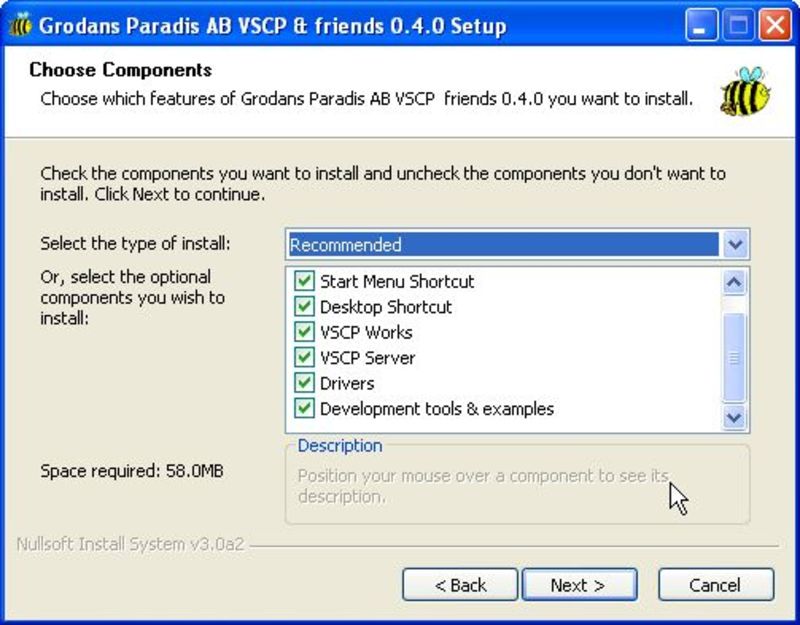
The next screen allows the selection of install options:
- Start Menu Shortcut: if checked, the installer will make a VSCP & Friends folder in the Windows start menu, with shortcuts for the VSCP programs.
- Desktop Shortcut: puts a VSCP Works shortcut on the desktop
- VSCP Works: installs the VSCP Works application
- VSCP Server: installs the VSCP server tools (such as the daemon vscpd and the daemon service)
- Drivers: installs standard drivers in the Program Files\VSCP\drivers folder
- Development tools & examples: installs some development tools and examples in the \Program Files\VSCP folder
I recommend to check all boxes to install the full tool suite.
Next set the folder location to install to.
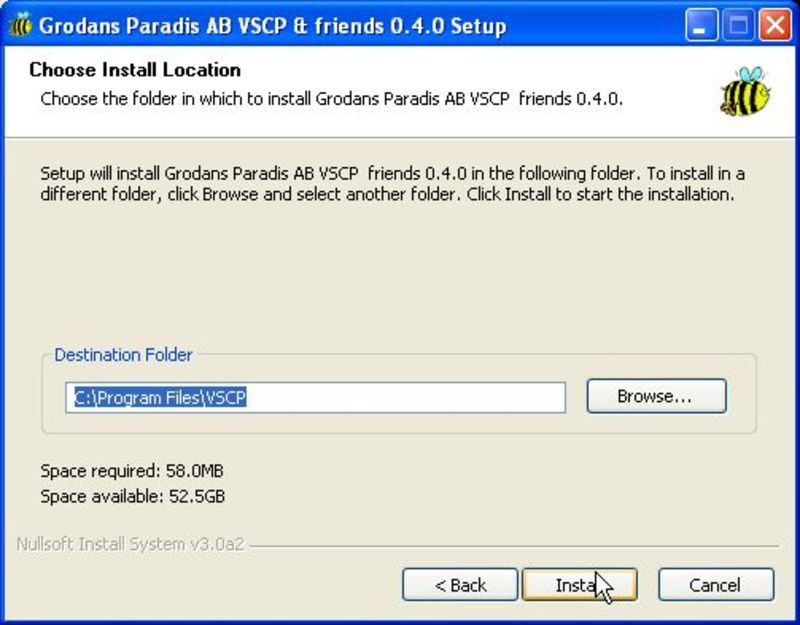
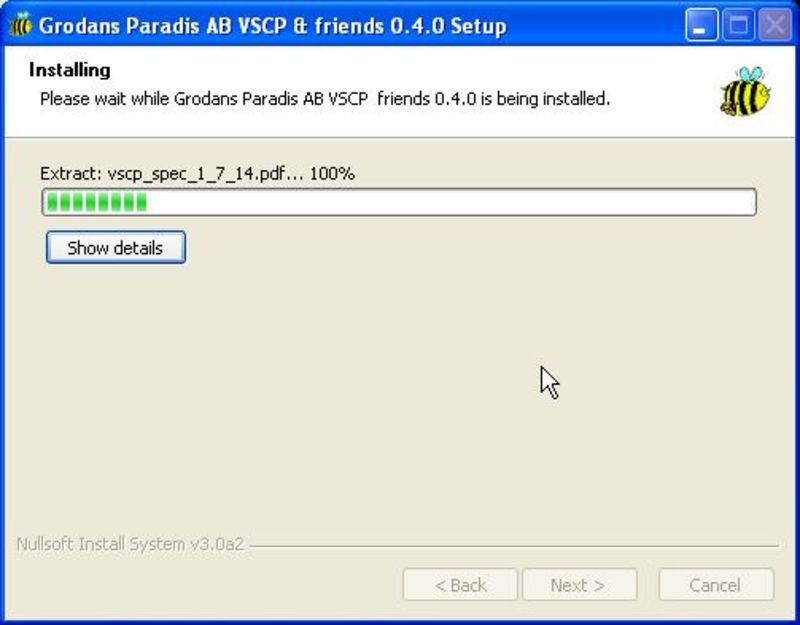
VSCP Works will install.
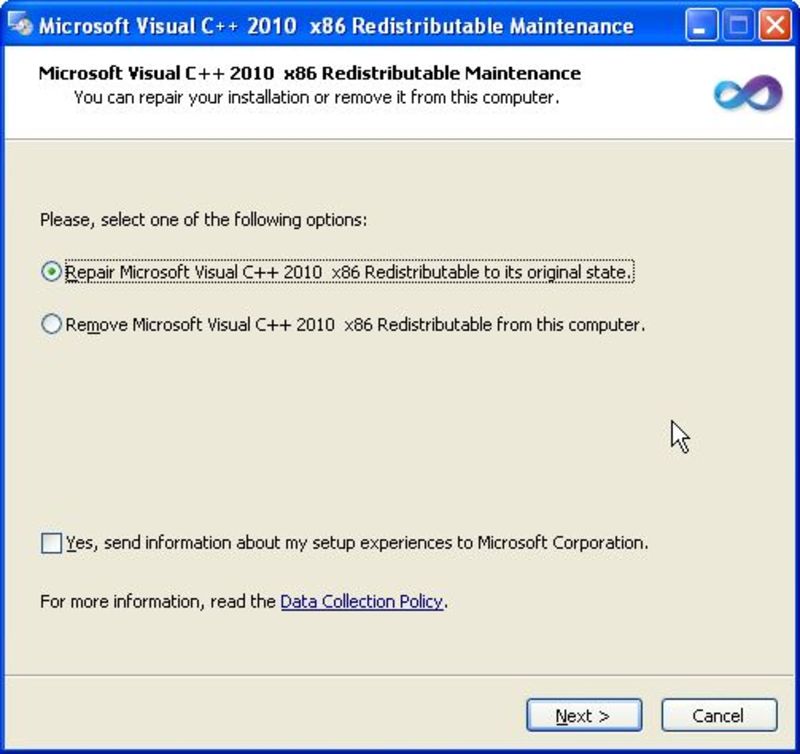
If you get a message that the Visual C++ Redistributable needs to be repaired, just click Next.

The installer will attempt to install WinPcap. Just follow through the installation. Or if it finds a version that is already installed, just click OK

After completing, VSCP Works has installed the following:
Files in the Program Files\VSCP folder:
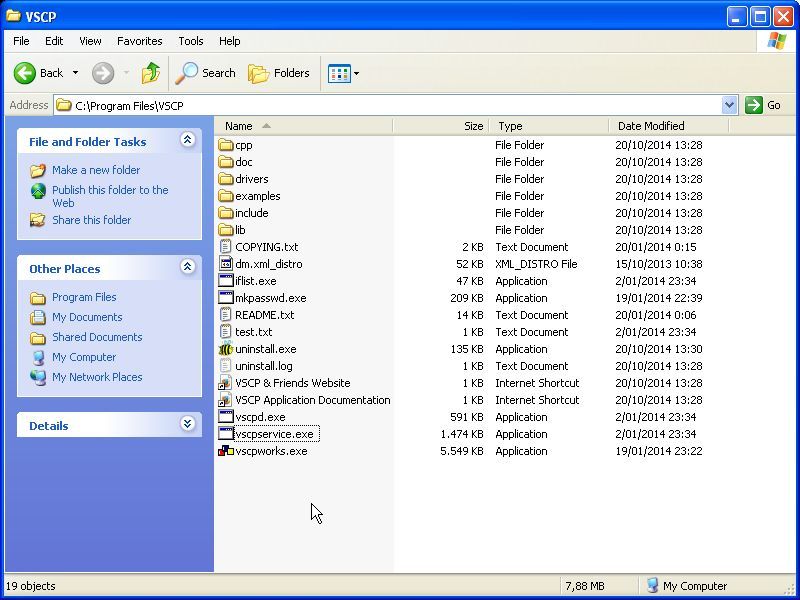
Files in the \Documents and Settings\All Users\Application Data\vscp folder:
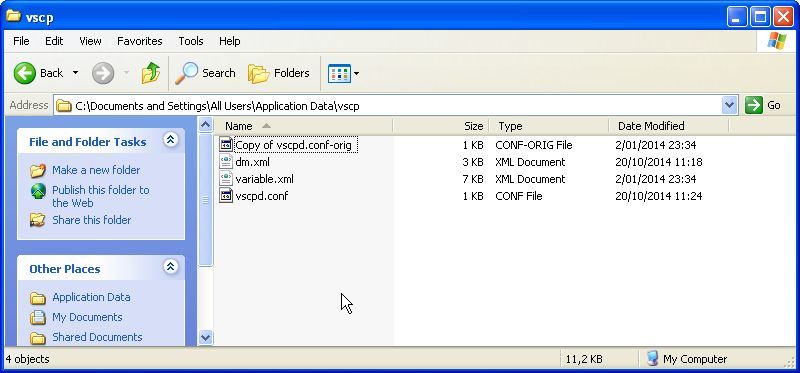
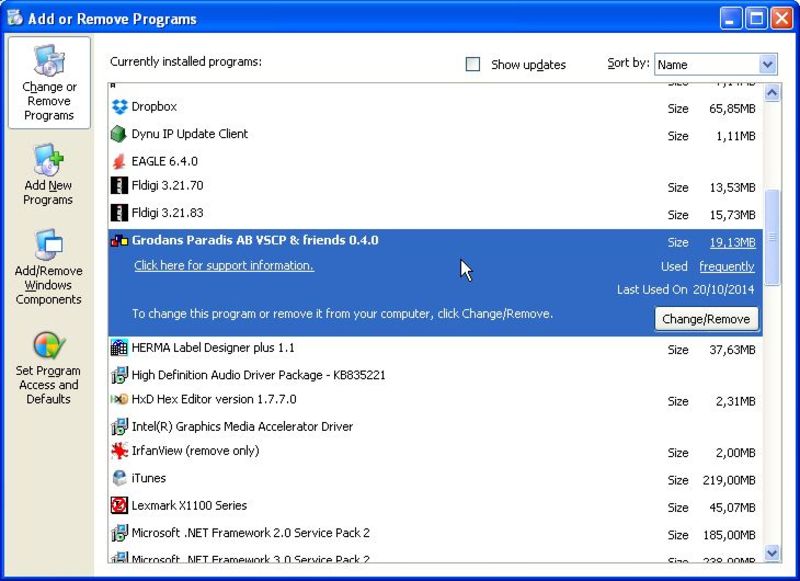
A program in Add or Remove Programs in the Control Panel
Configuring the daemon
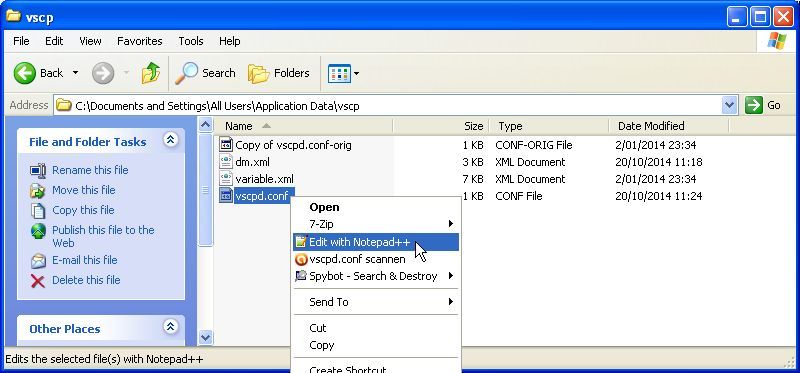
The daemon is configured through the vscpd.conf file in \Documents and Settings\All Users\Application Data\vscp. Open it in a text editor.
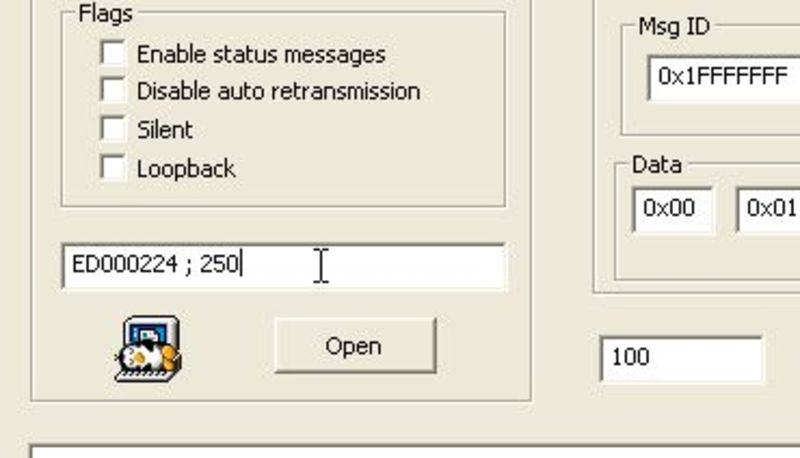
Leave all settings to default, except the configuration of the hardware interface. We’ll change this to point the daemon to the USB2CAN interface. Just like when setting up the client, we’ll need to enter the USB2CAN converter’s serial number, and the bus speed which for our modules is 250kbps (VSCP’s standard is 125kbps). We’ll also point the daemon to the same hardware driver which we use in the VSCP Works client.
<canaldriver>  <!-- Information about CANAL drivers -->
	<driver>
	   	<name>usb2can</name>
	   	<parameter>ED000224;250</parameter>
	   	<path>C:\Program Files\VSCP\drivers\level1\usb2can.dll</path>
	   	<flags>0</flags>
	</driver>
</canaldriver>
If this looks familiar, it’s because these are the same setting we used in the VSCP Works Edit VSCP Interface window when setting up the VSCP toolchain.
Save the file and exit the text editor.
A detailed description on the daemon configuration is available on the VSCP website: Configuring the VSCP daemon
Starting the daemon
Let’s see if we can get the daemon started. It is located in the \Program Files\VSCP folder. Open a terminal and go to that folder.
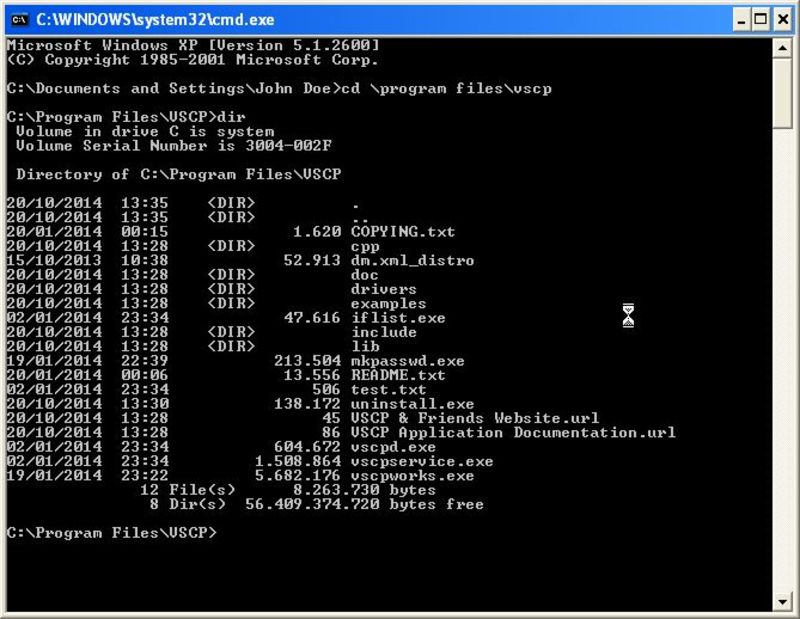
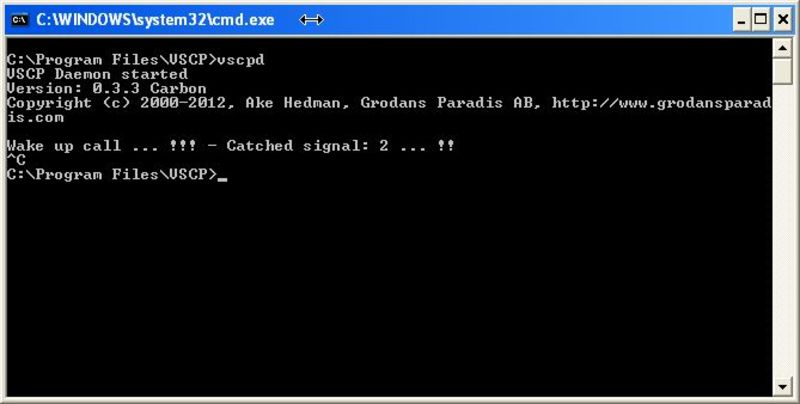
Now type vscpd and hit enter, the VSCP Daemon should start.
Testing the daemon
To test the daemon we can use VSCP Works. Start the VSCP client window.
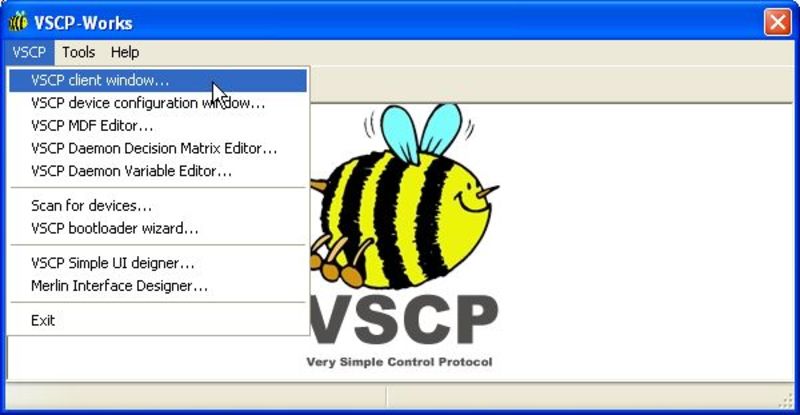
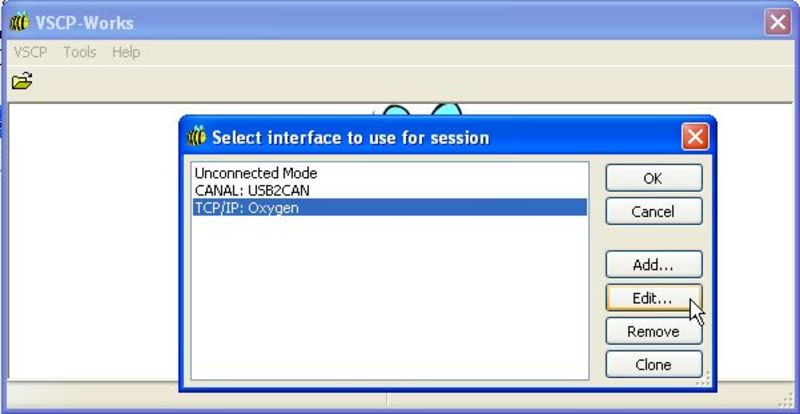
Instead of connecting directly to the USB2CAN interface, we’ll be connecting through the daemon, so select TCP/IP: Oxygen and click the Edit button.
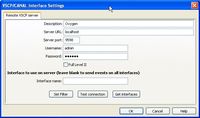
Here you’ll find some settings which correspond to those in the daemon’s configuration file which we’ve edited before. If you haven’t changed any of the default config (apart from the interface), leave everything as-is.
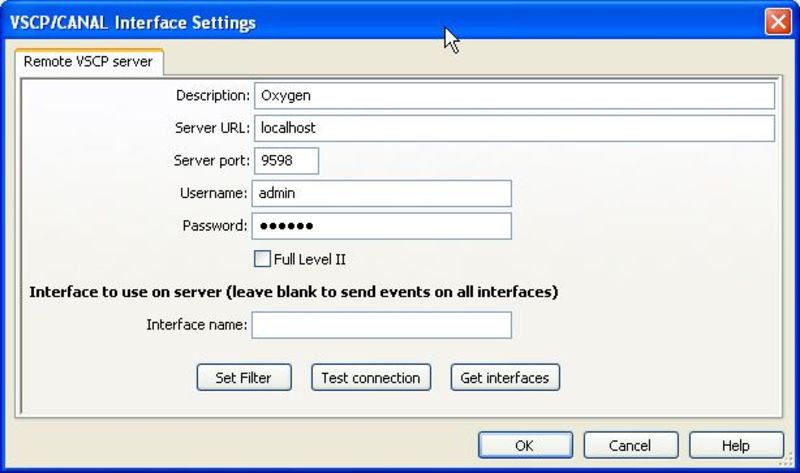 Note: current versions of VSCP software no longer use the _Server Port field (it is depreciated). The port is added after the Server URL instead. e.g. Server URL: localhost:9598
Although you can leave the Interface name field blank so that the daemon will use all available interfaces, it is recommended to select an interface here, so enter usb2can in this field. The Get interfaces button shows all available interfaces, selecting an interface from the list and clicking OK will copy its name into the Interface name field.
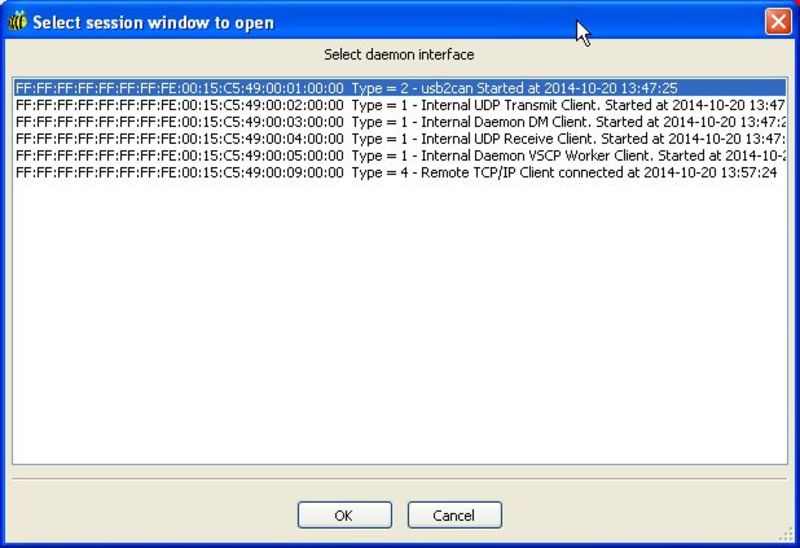
To test the connection between the VSCP client window and the daemon, click the Test connection button. The client will now connect to the daemon (using a telnet connection I presume), log in with user name and password, and report back if the connection was successful.

Now let’s close the edit interface window and select the interface.

The VSCP Client window will open, you’ll notice that it is connected to the TCP/IP interface with the daemon, and you should see bus events scrolling by.
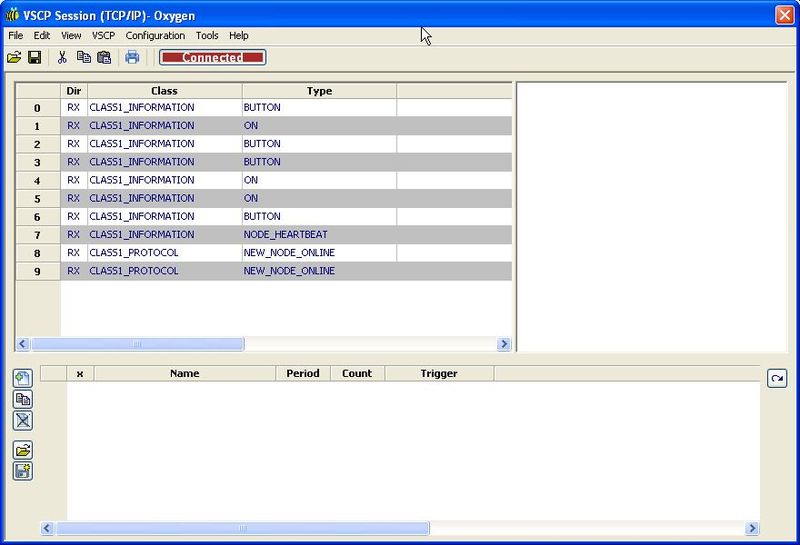
It is now possible to open multiple applications that need to connect to the bus, by pointing them to the daemon instead of to the hardware interface.
Closing the daemon
Press ctrl-c twice to close the daemon to return to the command prompt. On the first press, you’ll get the following text:
Wake up call ... !!! - Catched signal: 2 ... !!
On the second press the daemon will terminate. Or close the terminal window.
Catches to using the daemon
-
Nodes need to be addressed using the full GUID. Shorthand node ID’s will not work through the daemon. E.g.:
FF:FF:FF:FF:FF:FF:FF:FE:00:15:C5:49:00:01:00:01